I love it when I see something, feel inspired, and then go out & make something. That's what I did with this project. I had seen this shirt pinned and I knew that I wanted to make it for Madison.
Follow along to see how I put mine together, and if you feel inspired to make one of your own, let me know, I would love to see pictures posted to my Facebook page!
Turkey & Ribbon Applique Shirt
Materials Needed:
Brown Shirt {or any color really}
Fabric-for the Turkey body
Fusible Interfacing
Various Ribbons
Black & Yellow Puff Paint
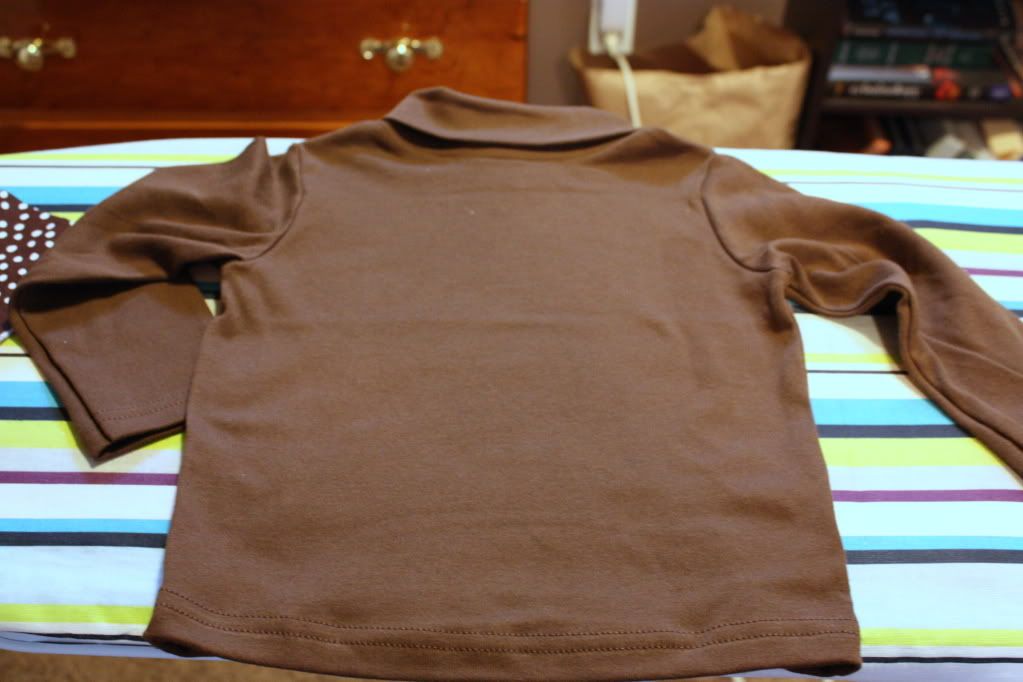
So like I said, when I saw this I felt immediately inspired to make one for Madison. So while we were at Wal-Mart, I grabbed a brown shirt. Granted, it's from the boys side {because they didn't have one in her size in the Girls section}, but I figured since I was making it girly, it would be ok.
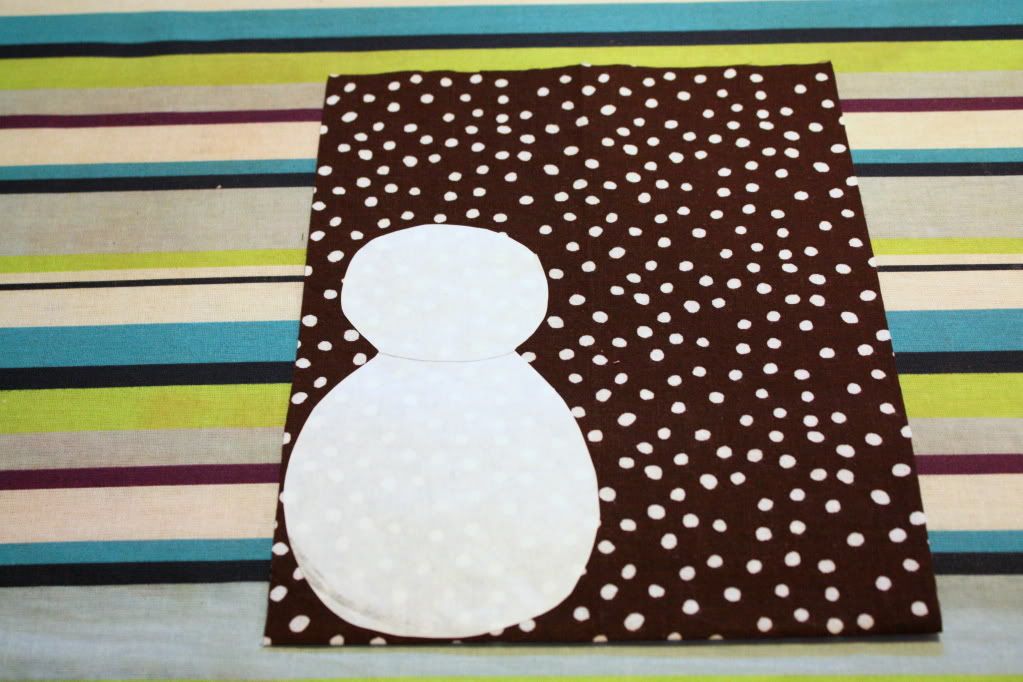
Then I grabbed some brown fabric that I had leftover. I love being able to re-use scraps of fabrics for other projects. For the pattern part, I took some freezer paper and sketched out a bowling pin-looking shape. I then ironed the freezer paper to the fabric {instead of using pins}, and then cut out two of the shapes.
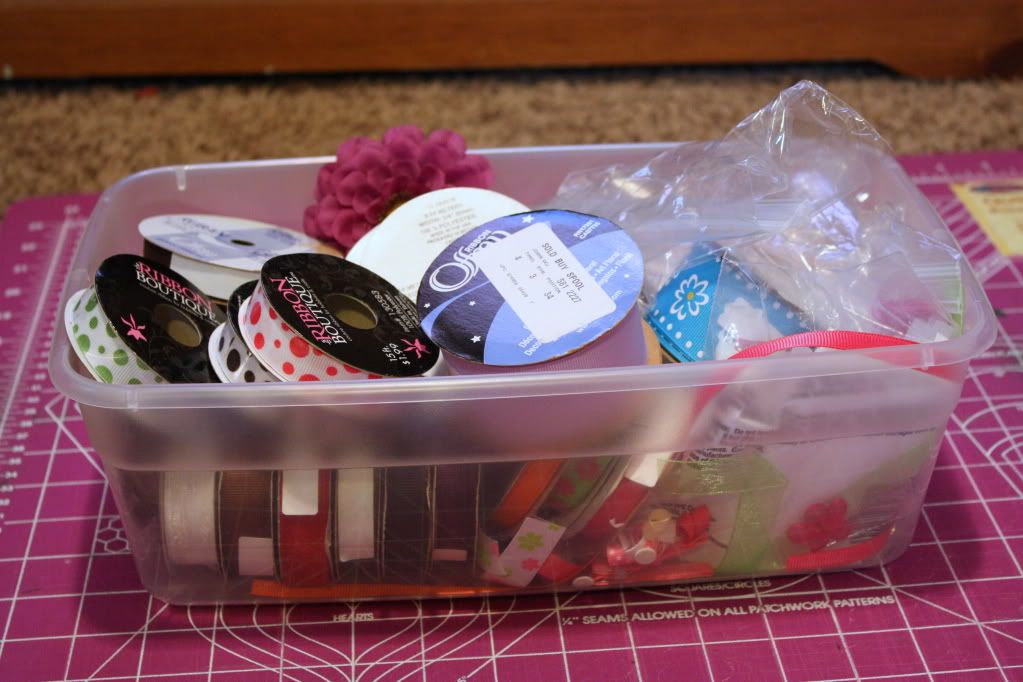
Next, I went to my ribbon box. If you've got girls, then you've probably got ribbon from making all sorts of bows. I decided on 7 different types of ribbon. This is the fun part where you can choose what you want.
I cut all my strips 8 inches long. From there I twisted them, and would pin them various distances from the edge of the fabric.

All pinned up-front facing view {what you'll see on the shirt}
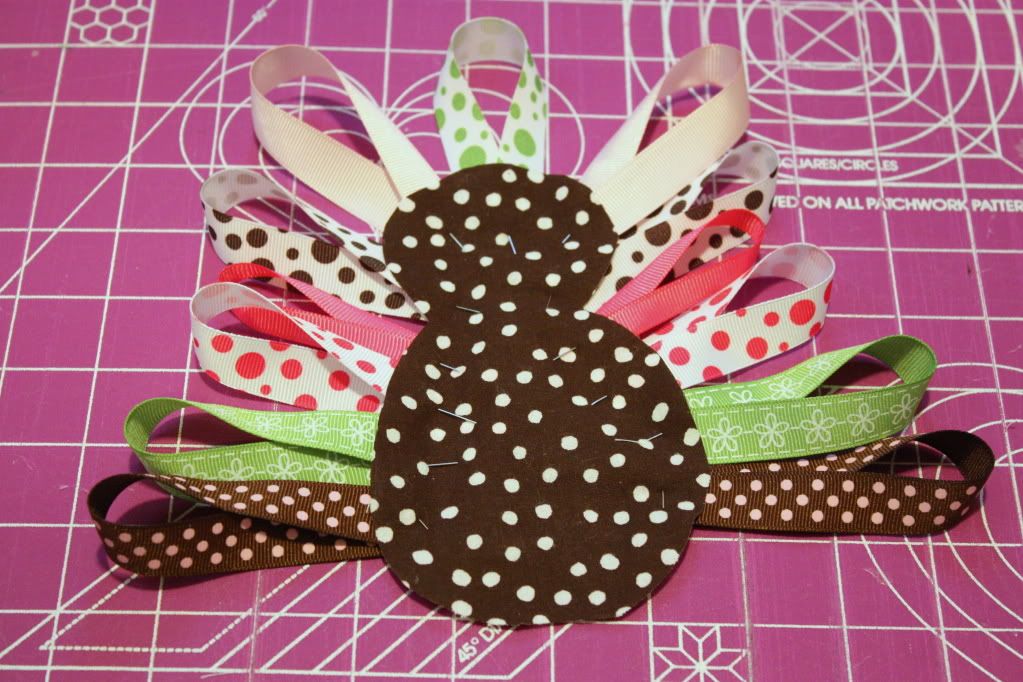
After pinning, I sewed around the entire turkey to keep all the ribbon in place.
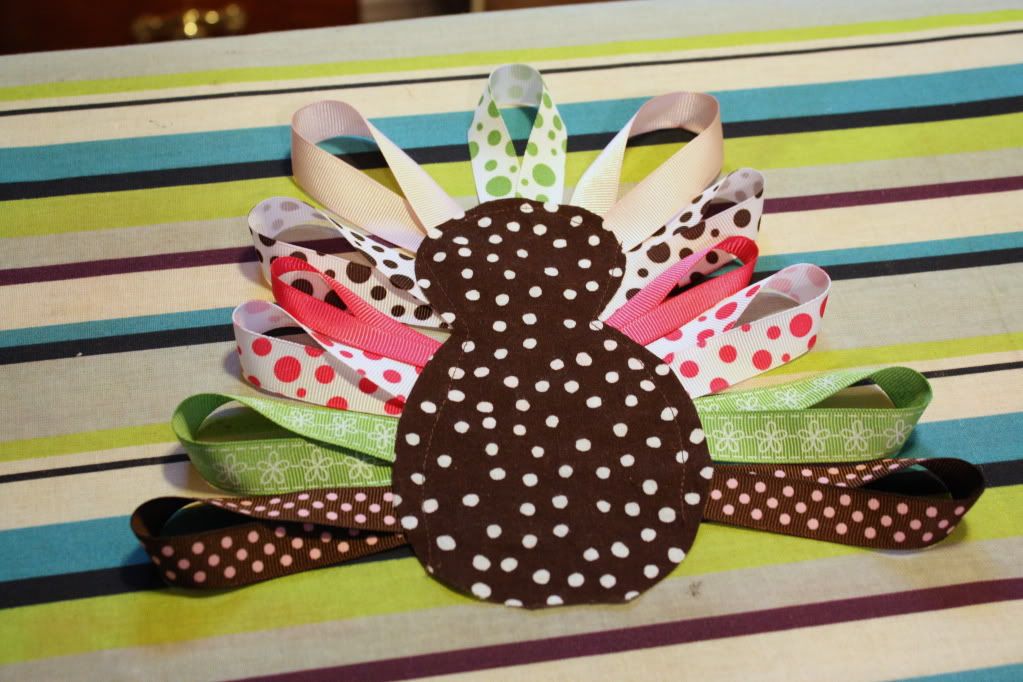
I then cut out a piece of the fusible interfacing and ironed it onto the backside of the turkey {not pictured}. I then layed the other piece of fabric and ironed the two together. This sandwiches the ribbon between the two fabrics.
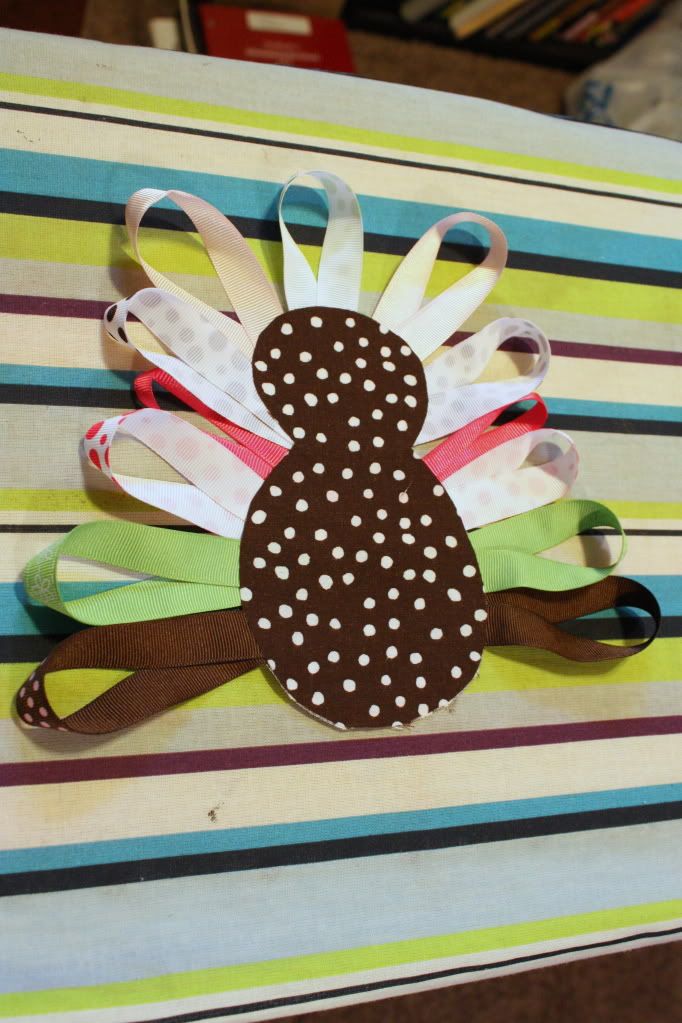
Then, I cut out another piece of interfacing and ironed it onto the back of the turkey.
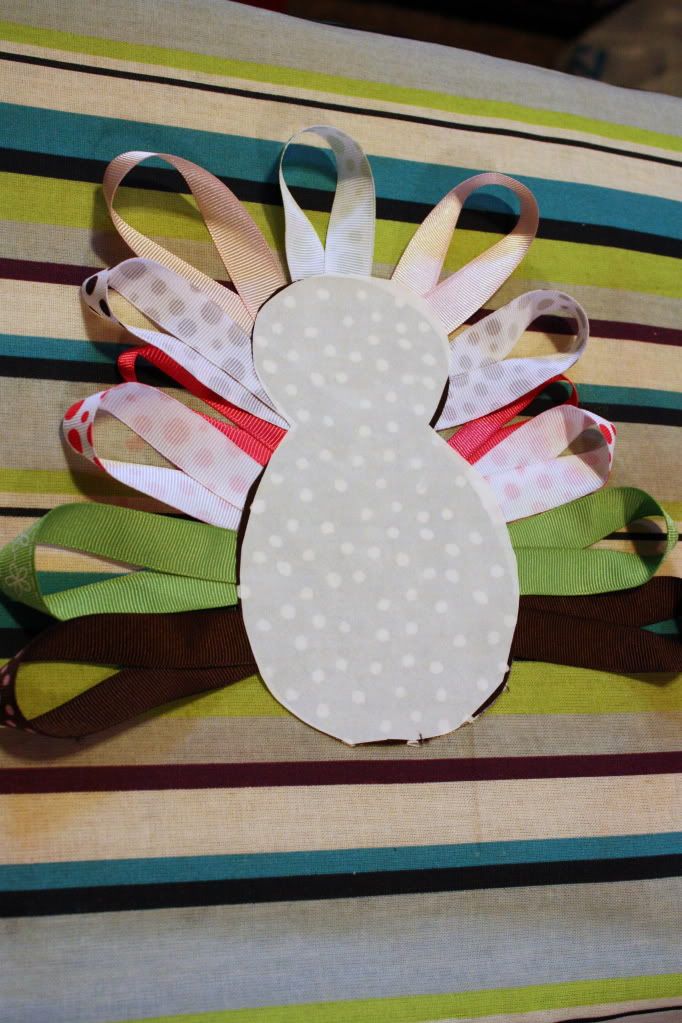
From there, I ironed the whole thing onto the shirt really good. I made sure to really iron it good considering the heat needed to go through a couple layers to fuse to the shirt.
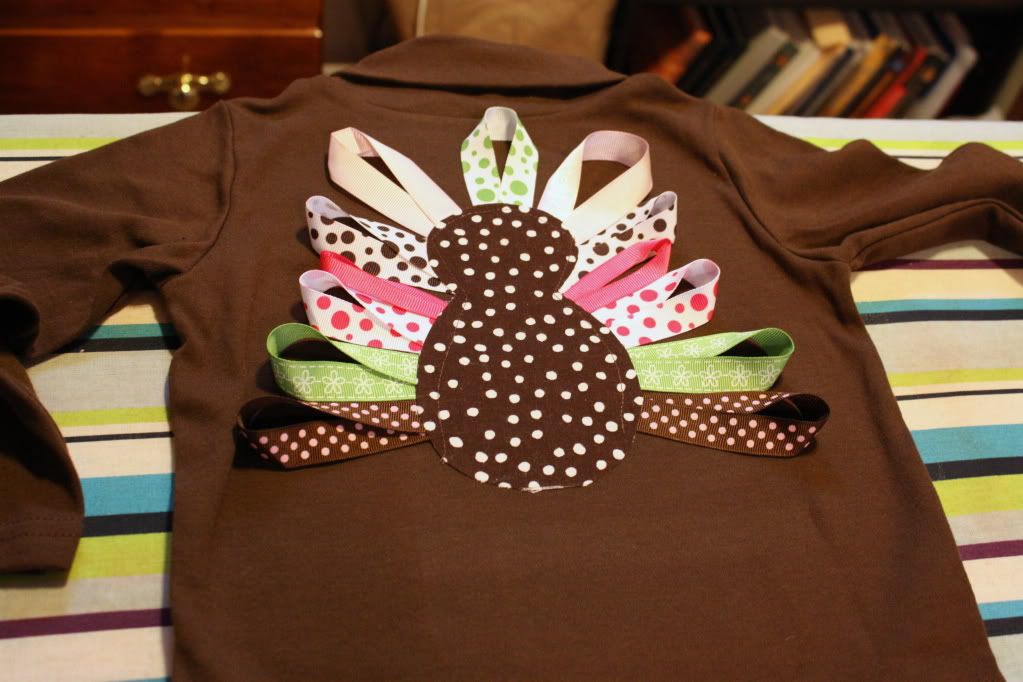
I then zig-zagged around the entire turkey.

I made sure to zig-zag over the edge. From there, I picked out the original stitch I had done to hold the ribbon in place. I figured with the zig-zag stitched holding everything together, I didn't need the ugly stitch.

For the eyes & nose, I just used some puff paint that I had-give that extra dimension of cuteness.
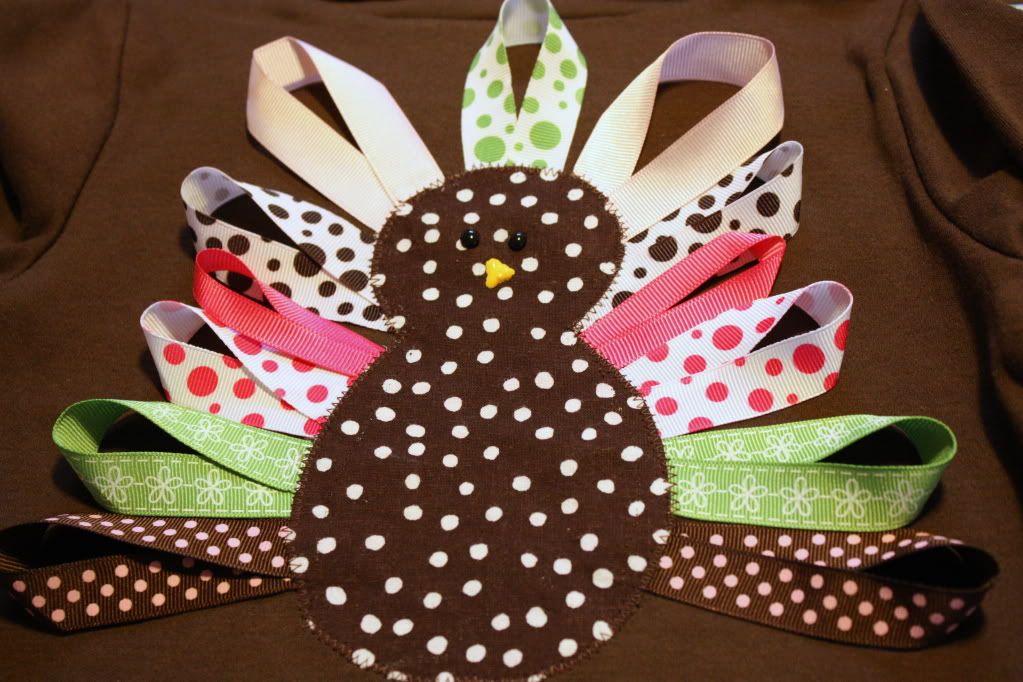
And there you have it....A cute Thanksgiving shirt for your little Turkey!