Monday, January 17, 2011

Two Weeks

Starting at the end of the week, I'm going to make my way through 12 recipes over a 2-week span.  I started falling back into a not so organized meal planning, so I've given myself a challenge to cook new recipes {and all from one source}.

I sure do love to cook, but sometimes I want to take a creative break & just cook up others creativity.

So look for my adventure starting Thursday ;)

Photobucket

Sunday, January 16, 2011

I Heart Faces Photo Challenge: Winter Wonderland

For this weeks I Heart Faces theme: Winter Wonderland; I couldn't help but throw this picture into the ringer:
What do you get when you combine a park, a hill, and some of the best snow on Earth??
Sledding!!!!
It's just as enjoyable as an adult as it is for a child.
Who cares about the cold temperatures or the wet snow blowing into your face; the thrill of sliding at an increased speed on a piece of plastic not knowing if you'll make it down without biffing it......well.....it is very exciting!


Go over and look at the other wonderful pics!
Photobucket

Sunday, January 2, 2011

Weekly Winners 12-26/1-1

This is the first time that I'm doing this, but I just had such a fun week & I wanted to share :)

{All taken with my Canon Rebel xsi}

Funny Faces
Grand Prizes
Scrumptious Desserts
Chillin Laughter
 Mom & Son
 A Daredevil
 Crash & Burn
 Uncontainable Enjoyment :)


Photobucket

Lemonhead Cookies

WARNING!!!

These cookies are very addicting.......very.  My 4 dozen cookies are gone in less than a 24 hr period.  My boys {who don't eat sweets-their choice} eat these cookies.  My oldest is glad to lick the batter off the beater when I make these cookies.

So go out & find a bag of Lemonheads and make these cookies :)


Lemonhead Cookies
Ingredients:
1 Cup of Butter
1 Cup of White Sugar
1/2 Cup of Brown Sugar
The zest from 1 Lemon
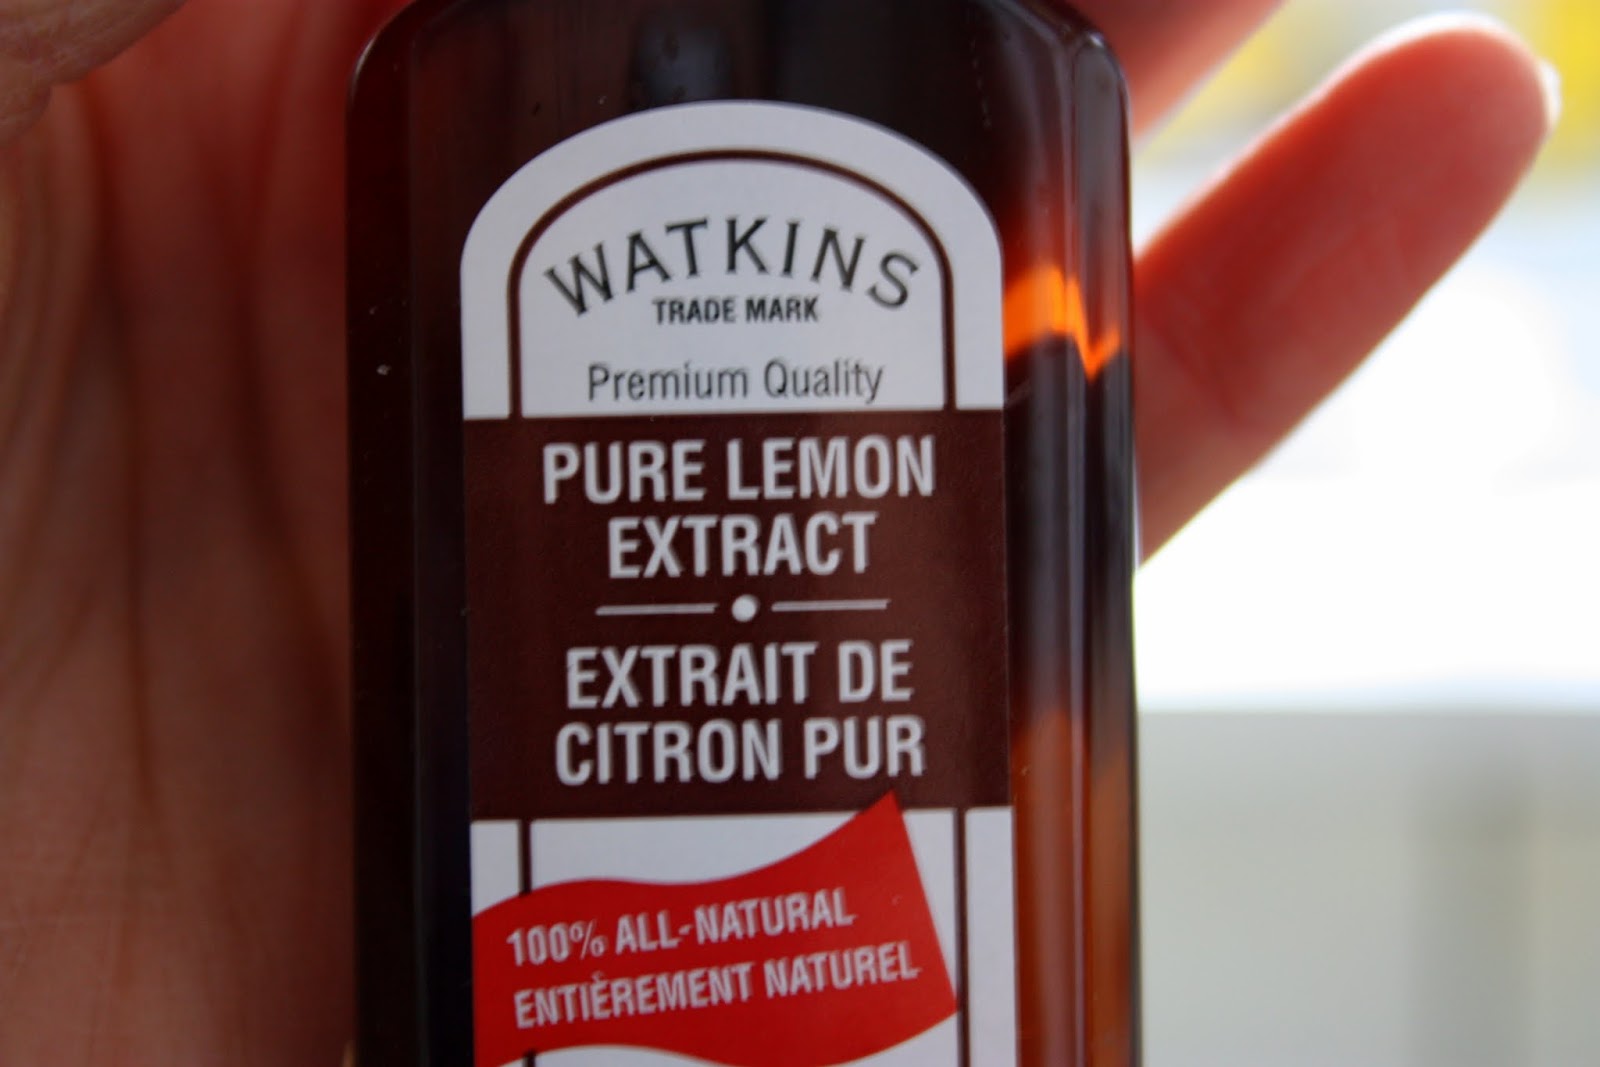
2 Tsp of Lemon Extract
2 Eggs
1/4 Tsp of Salt
1 Tsp of Baking Soda
3 Cups of Flour
6 oz Bag of Lemonheads-Crushed into smaller pieces

 First, cream together the sugars, butter and lemon zest


 Next add in the Lemon Extract. Now, I've tried making these cookies with lemon juice, but the juice did not add enough lemon flavor. The extract does.


Add in the eggs as well; Mix until everything is incorporated.


Now we get to add in the dry ingredients: Salt, Baking Soda & Flour.


You want to add enough flour to make a stiff dough.


And finally, add in those Lemoheads-the star of the show.


This is what the dough should end up looking like-nice and firm {it should stick to the beaters}.
 I use my trusty cookie scoop & scoop out my dough balls {and try to resist the temptation of the dough}.  I was able to get just short of 4 dozen cookies scooped.
 Bake in the over @ 350 degrees for 10-12 minutes {just a little golden}.  When I take them out of the oven, I let them sit on the pan for another minute or two to set up.  You don't want to eat one of these lovely's right out of the oven because of the melted candy-you don't want to burn your mouth.  After a couple of minutes, I then transfer them to a cooling rack to cool down.
 Now, these cookies would be just fine, but if you want to up it a notch, add a lemon-powdered sugar frosting to these puppies.  For the frosting, I used 1 1/2 Cups of powedered sugar & just enough lemon juice to get a not-to-thin/not-to-thick frosting {easy enough for my silicone brush to brush the frosting on}.  For these cookies, I added some yellow food coloring because I wanted to make them look pretty for a party I was going too.
 Ahhhhh......yumminess.
 Very, Very addicting.  I'm so sad they're gone.
Enjoy!
Lemonhead Cookies

I'm linking these goodies to the following places:

Mouthwatering Mondays


Tuesday, December 21, 2010

Wednesday, December 15, 2010

No-Bake Peanut Butter Chocolate Oatmeal Cookies

What a mouthful.

My Brother {the one that's stationed in Okinawa} asked for a No-Bake PB Choco-Oatmeal cookie.  No-Bake because he doesn't have access to an oven.  So I "binged" what he wanted and found this recipe; I adapted it only in the heating/melting process.

I halved the recipe because I really don't need the extra treats around {especially since I want other kinds of treats as well} and I got 10 cookies out of it...which is just fine to me.

No-Bake Peanut Butter Chocolate Oatmeal Cookies

 Add the butter, milk, sugar, and cocoa to a microwave-safe bowl.  I nuked it for 30 seconds; then stirred it around and decided to nuke it again for another 30 seconds.
 Nice and melted
 Add your Vanilla and Peanut Butter
 The Peanut Butter melted right in {I didn't have to nuke it again}
 Add the Oats
 Stir everything together
 Drop spoonfuls onto wax paper {so they don't stick}, and stick the pan in the fridge {or freezer} until the cookies set.
 oooh, Yummy!
 Again....nothing better than Peanut Butter & Chocolate!
Enjoy!
Photobucket

Thursday, December 9, 2010

Baking Tips

So... As I was searching for some new recipes, I came across these two baking articles.

Cut The Fat In Baking:

I'm always looking for ways to make my baking just a little bit more healthy {cause then I don't feel so guilty about eating it}.  My usual go-to has been replacing the oil w/ applesauce, and switching out some of the white flour with wheat flour.  This article had some more tips.
  • For cookies, replace half the butter with applesauce, egg whites or plain yogurt.  I've never thought about replacing the butter before {I've always done the oil}; I'll have to give this a try the next time I make cookies.
  • Replace regular butter with equal amounts for healthier buttery spreads.  I don't bake with butter so......
  • Trade half the butter with pureed fruit such as mashed bananas, apple butter or prunes {prunes working best with chocolate recipes}.  I would think that at least the bananas would add their banana-ee flavor to whatever you're making.
  • Replace half the oil with applesauce.  I always replace all of it, and my baked goods turn out just fine.
  • Replace each whole egg with two egg whites or 1/4 cup egg substitute.  I always feel bad not using the whole egg; if I'm going to pay for it, I might as well use it.
  • Replace cream with equal parts of evaporated skim milk.  I've heard about this, but have never used it before.
  • Replace half the cream cheese with equal parts of reduced-fat cottage cheese, or part-skim ricotta cheese.
  • Replace each 1/2 cup shortening with 1/3 cup vegetable or canola oil.
  • Replace equal parts sour cream with plain or Greek style yogurt.
  • Replace Whole Milk with 1% or 2% milk.  Yep, do this all the time when I make bechamel sauces or quiches, or anything in that manner.  I don't keep whole milk in the house.  I use what I got, and you know what, it comes out just fine.
{you can find the original article here.}

Tips For Baking with Whole-Grain Flour:

If you look at any of my baking recipes, you'll notice that I substitute out most of my white flour for wheat flour.  I try to keep it healthy in this household.  Here's another article that I found with some good tips:
  • Whole-grain flours have more complex taste and create a heartier texture than refined white flours because they include the bran and germ.  There is a difference in your baked goods when you use wheat flour; it's something that I've come accustomed too.  They still taste good, but there is a difference.
  • Buy wholegrain flours from a store that has a high turnover rate. Be sure to check the expiration date and buy the freshest available. Opt for stone-ground flours, when available, as they have the highest nutritional value.  I'm lucky to be able to get flour straight from a flour mill.
  • Because they contain the oil-rich germ, to prevent rancidity, whole-grain flours must be stored in the refrigerator or freezer in a tightly sealed container. Use them within three months.  I use up my flour in a good amount of time, and I've never thought to keep it in the fridge or freezer.  I do however keep my flour in our cold food storage food.
  • Try grinding your own fresh flour from flakes. For example, purchase spelt flakes or oatmeal and use a coffee grinder to process small batches into flour as needed. Small grains without tough bran coatings, like quinoa and buckwheat, may also be ground this way.  If you have wheat in your food storage {along with a grinder}, this would be great in rotation efforts.  My parents ground their own wheat flour for years as I was growing up.
  • Start off by substituting half of the all-purpose flour in your favorite recipe with spelt or white whole-wheat flour. Occasionally you will need to add slightly more liquid.  If you've never had wheat flour, you should definitely want to go small at worst {helps with the digestion}.  When you're baking, always make sure to add enough flour till you get the right consistency.
  • When using all whole-grain flour in quick breads, select whole-wheat pastry, whole white wheat, spelt or kamut flours. Use 1 teaspoon baking soda for each cup of flour. To improve texture and crumb, add 1/4 to 1/2 teaspoon of baking soda to the dry ingredients and use buttermilk for the liquid.  This I will have to try.
  • To ensure even cooking, bake quick breads in small containers like muffin cups or mini-loaf pans. Rotate the pans halfway through.
  • When baking breads, substitute up to 30 percent whole-wheat or other whole-grain flour in your favorite recipe.  I usually go 50/50.
{you can see the original article here.}

Hope these tips are useful; and if you've got any, pass them along :)


Photobucket