Showing posts with label Creativity. Show all posts

Friday, May 25, 2012

DIY Washcloth Toothbrush Pouch

A week or so ago, my Fabulous friend Emily, shared this tutorial on making a Traveling Toothbrush Pouch.

I immediately loved the idea.  LOVED.

So the next time that I was at Ross's, I picked up some washclothes {I grabbed a pack of 8 making each washclothe 50 cents!}, and went to work.


These were super easy to make, and I was lucky that I had lots of ribbon to match.  I used a different kind of ribbon for each person in my family.


I love how they turned out, and I'm excited to use them on our forthcoming trip to CALIFORNIA!!!

Thanks for stopping by!
Photobucket
You can find this awesome post linked up to the following Fantastic Parties:


Friday, April 27, 2012

Vacation Countdown!

I finally did it!  I've been wanting to make a countdown for our family to have for the various vacations we take throughout the year.


~This particular countdown is for California!~


Super simple.  While at Home Depot one day, I bought a 4x4 post....I figured I would cut it up into square blocks for various projects.  And thanks to my wonderful miter saw, I was able to cut out all my blocks.

I then spray painted everything brown.  I then cut out some fun summer-ish scrapbook paper & mod-podged it onto the blocks.

And then I headed over to my Mother's house & used her cricut to cut out some vinyl for the numbers & sayings.


I'm so excited!  My kids are beyond excited for this particular vacation :)

Thanks for stopping by!

Photobucket
You can find this awesome post linked up to the following Fantastic Parties:


Thursday, February 2, 2012

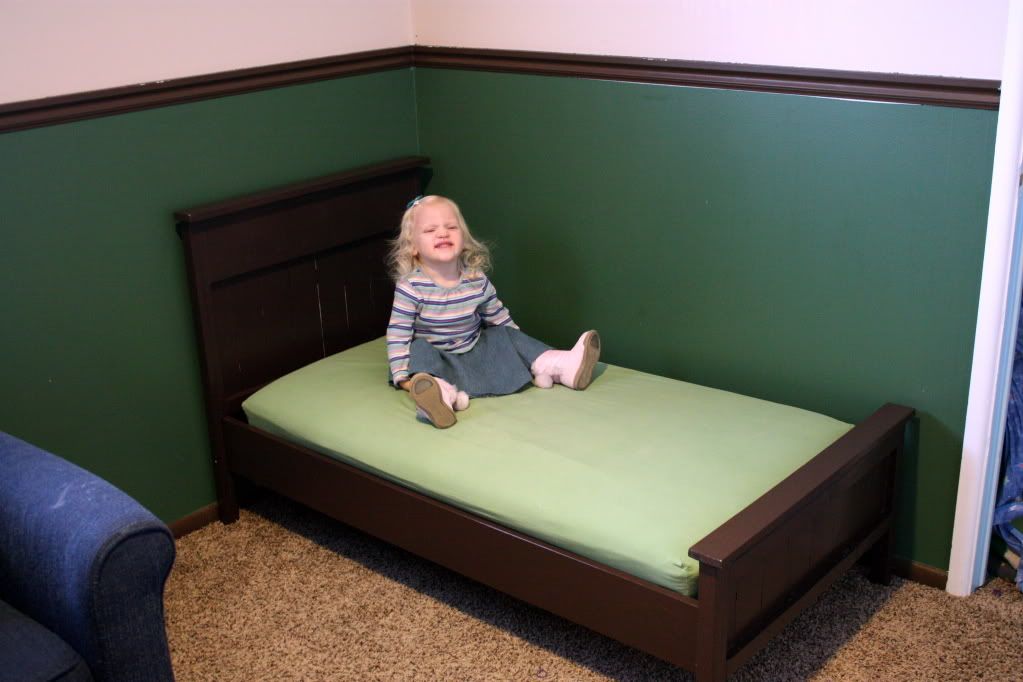
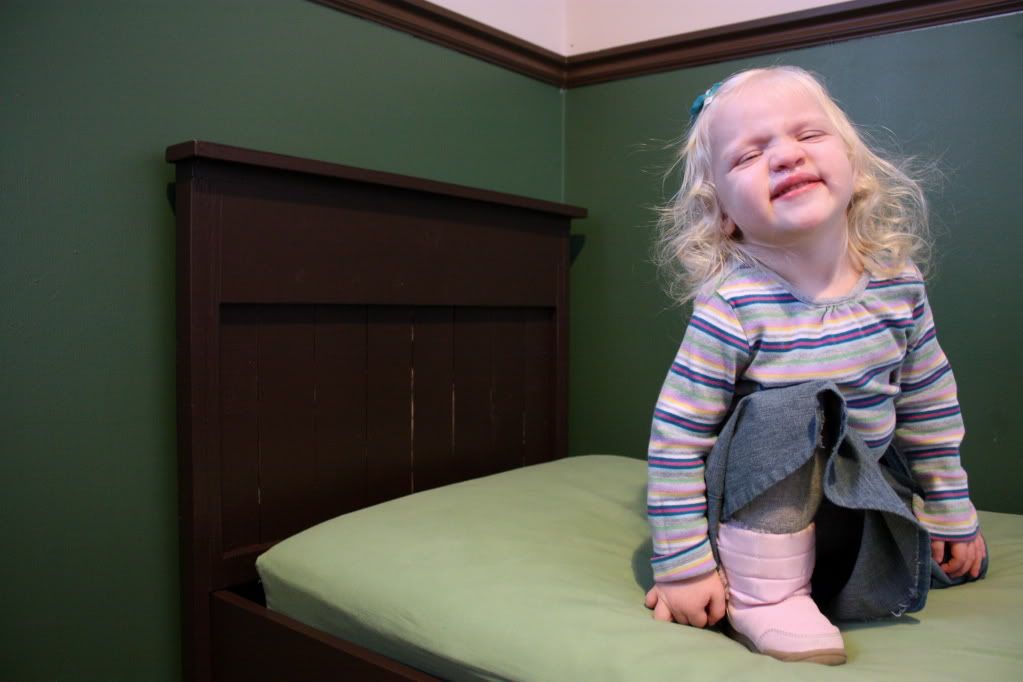
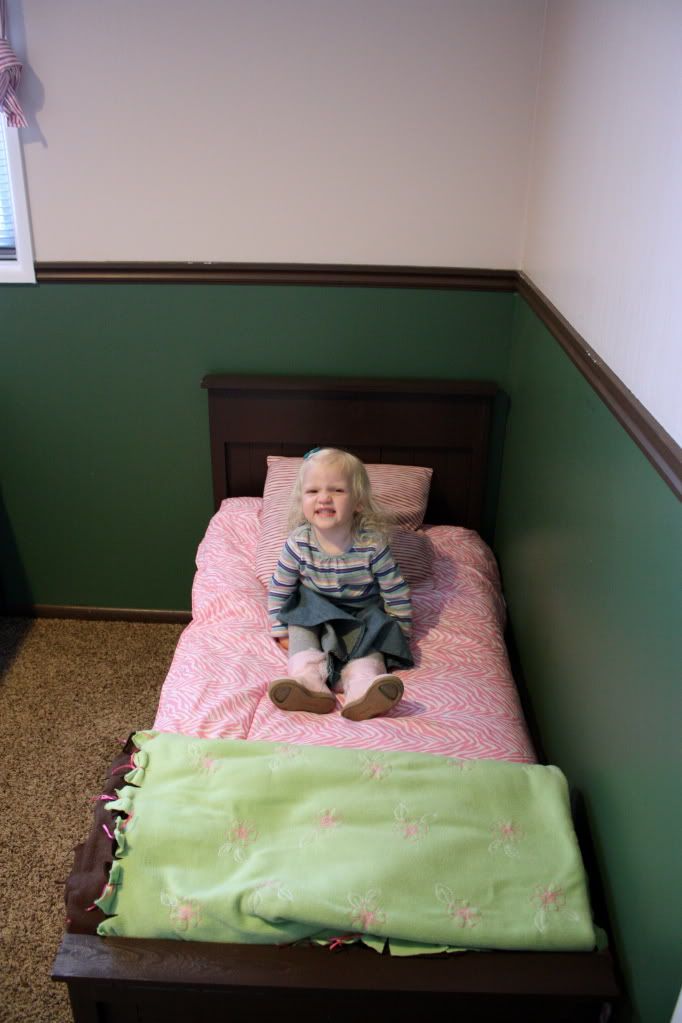
Madison's Toddler Bed

I am finally done.

This project goes to show how much of a procrastinator I am.

A project that should have taken me 2 weeks to do {generous amount of time}, has taken me a little over 4 months to complete.

But look at this end product:


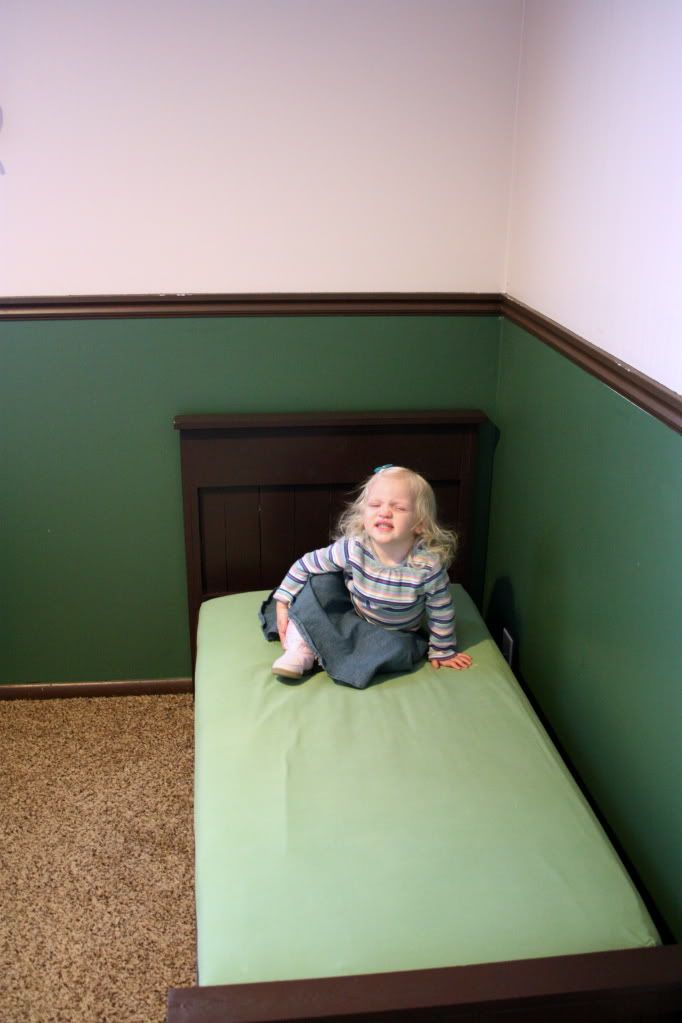
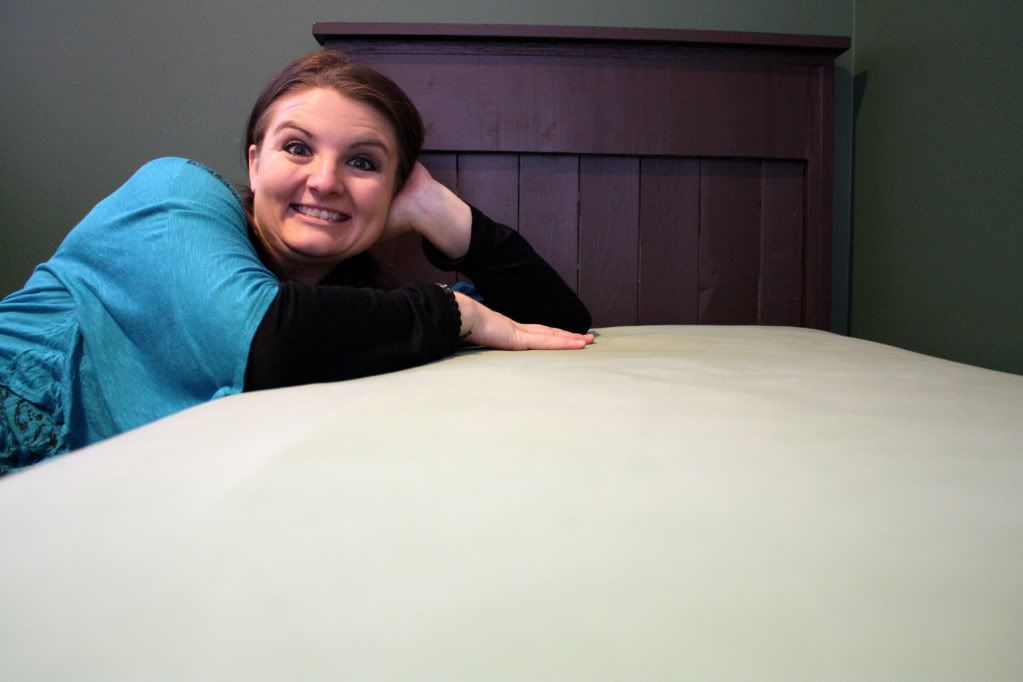
She is a happy girl.  I am a happy Momma.

6 Months ago, it was decided that we would make Madison a toddler bed.  She's so petite that buying another set of bunk beds kind of seemed silly.


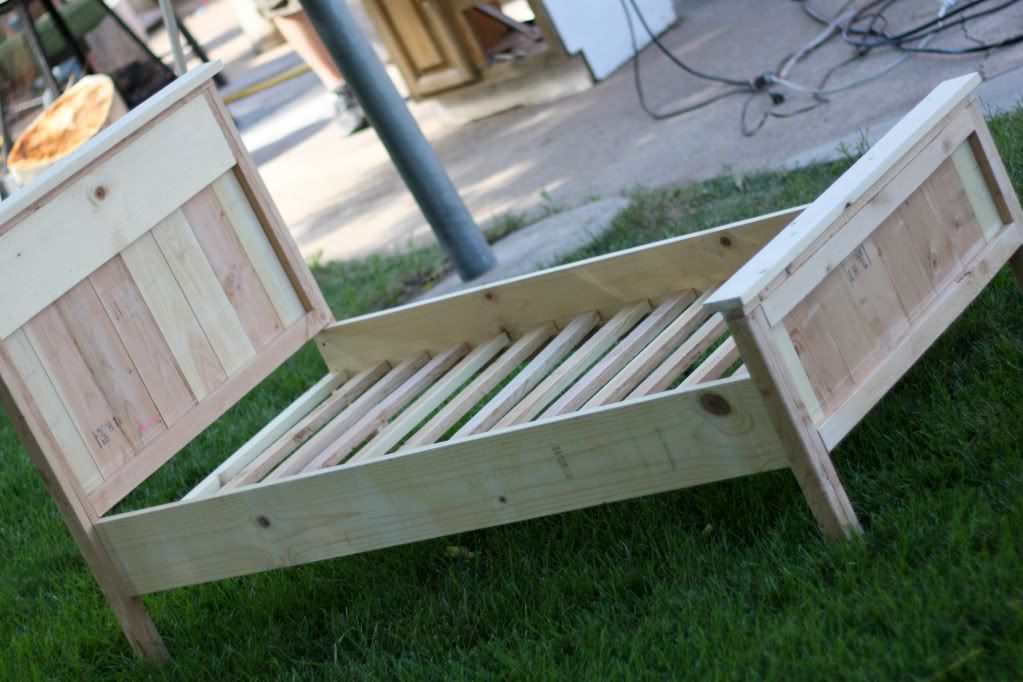
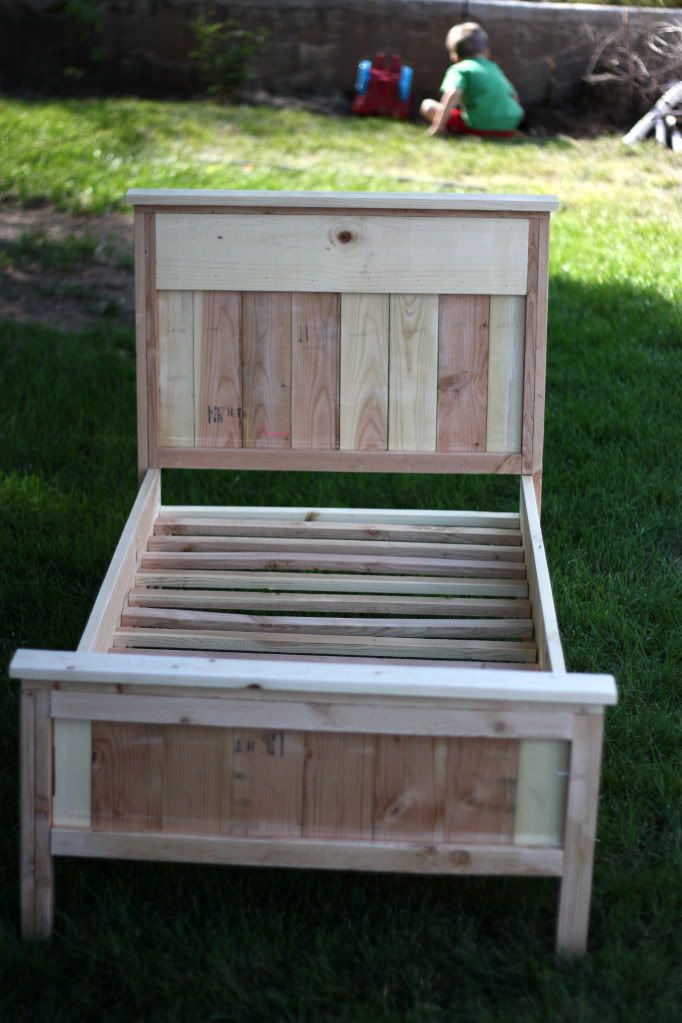
I love Ana White's site and her free furniture plans.  When I decided to make Madi a bed, I went to her site and printed off these plans.


The plans were easy enough because I did this project all.by.my.self.

I bought the wood.  I cut the wood.  I put the bed together.  I filled holes.  I sanded the bed.  I primed the bed.  I painted the bed.


We decided to paint the bed a chocolate brown.  It matches her room, and would be safe for any future children {because we thought about painting it pink to match her bookshelf}.


It's kind of weird seeing my little girl in her "Big Girl" bed.


But I'm so happy that I did it.


Thanks for stopping by!

Tuesday, January 31, 2012

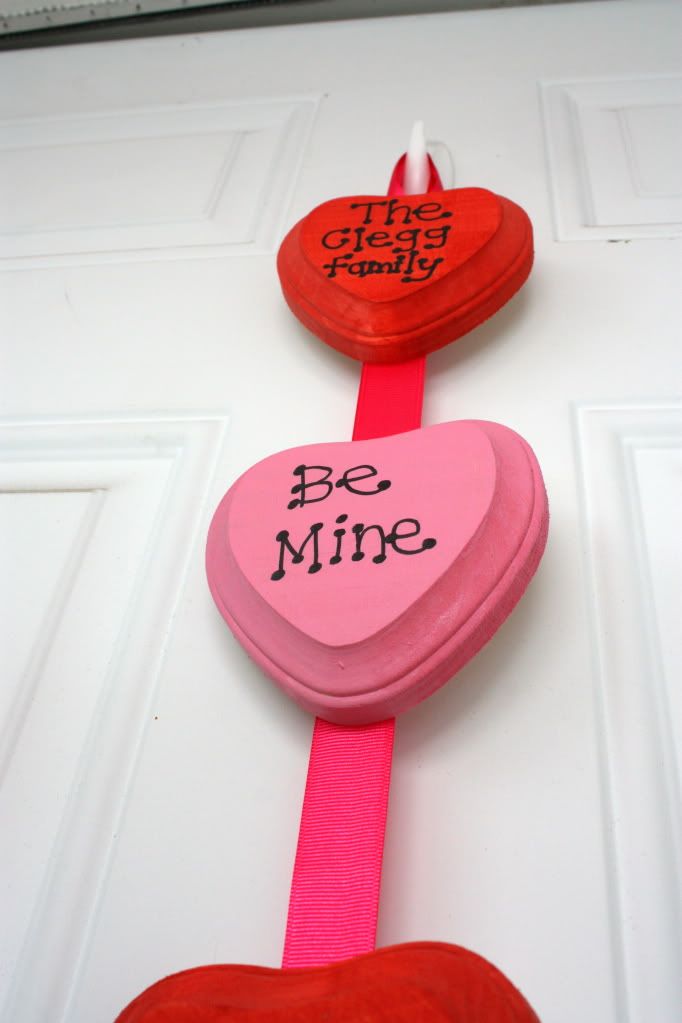
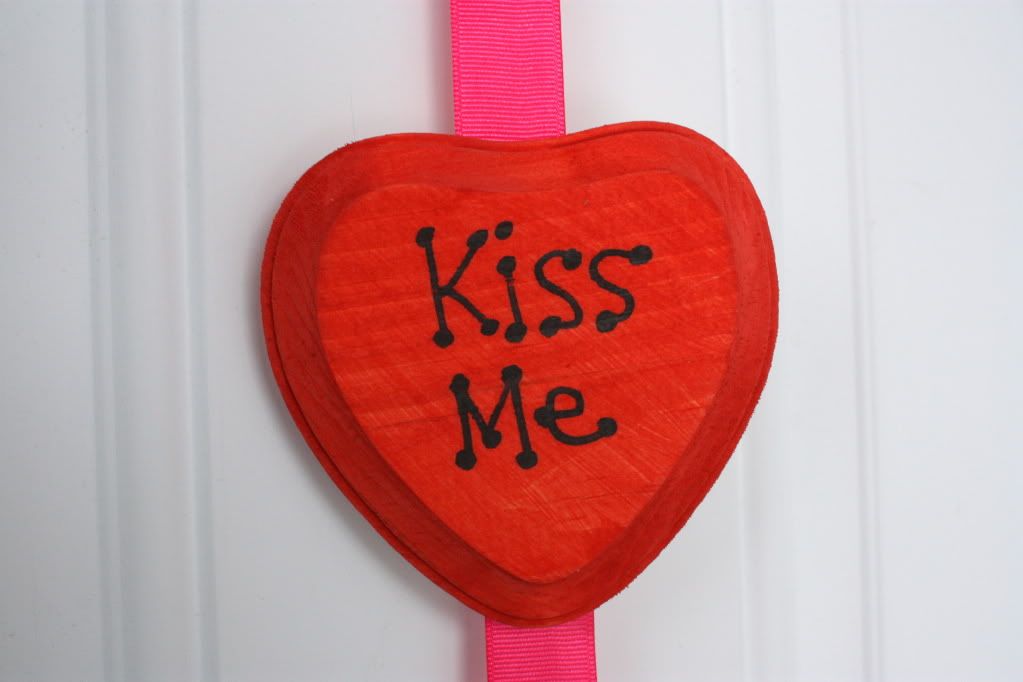
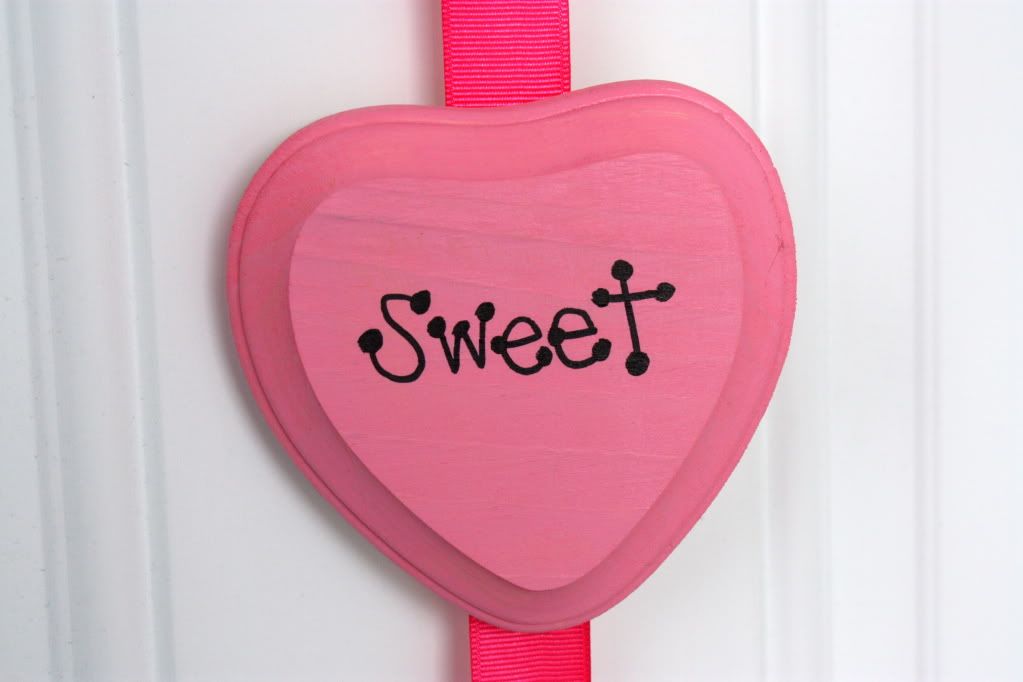
Conversation Heart Wall/Door Hanging

Hello!

Today I'm showing off a fun project I made for my front door {so it wouldn't be naked anymore}.  I found the idea off of Pinterest and ran with it.


Isn't it cute!


I strayed away from the Pastel colors, and went with Red & Pink instead.


Here's how I made mine:
Materials:
  • 6 Wooden Hearts {I found mine at Hobby Lobby & they were 2-$1, plus an extra 30% off...score}
  • Paint
  • Ribbon {I just picked up a roll 1" ribbon at Hobby Lobby because it was on sale}
  • Permanent Marker
  • Stapler
Directions:
  1. First, I painted my hearts.  The Pink took really well to the wood & only needed one coat.  The Red took two coats.
  2. After the paint dried, I decided to go really easy & just use a permanent marker & write on the hearts.  I had thought about making some stencils, or using my Mom's cricut to cut out vinyl, but I wanted to get this project done.
  3. I layed out my ribbon and just used my regular stapler to stapled the ribbon to the wood.  It's such a soft wood that the stapled went in pretty easy.
And that's that...

Super Easy, and now I have a fun Valentine decoration {my first one!}.


Thanks for stopping by!

Monday, January 30, 2012

Valentine Bingo-w/a Twist

One of the fun things that I get to do this year, is plan parties for my son's first grade class {well..the entire first grade}.  Coming up is the Valentine Party, so I've been perusing the internet to get some fun ideas.  Then I came across this pic on Pinterest, and I decided to run with the idea.

What's the idea???  Valentine Bingo with a Twist.


Can you guess how it works???

Instead of just regular bingo with letters & numbers, I went to my son's planner and looked at all his weekly spelling lists.  The idea is, when I pull out a word, like "Whale", the kids will have to listen to the word & place the marker in the appropriate spot {which would be the WH spot}.  So on the Bingo card, I put down beginning & ending sounds....THese or wELL.
Make sense??  And all the words that I used {and are in the link below}, are words that the kids should know.

So if you're looking for a fun, educational game for kids to play, I hope you try this out!

Thanks for stopping by!

Thursday, December 1, 2011

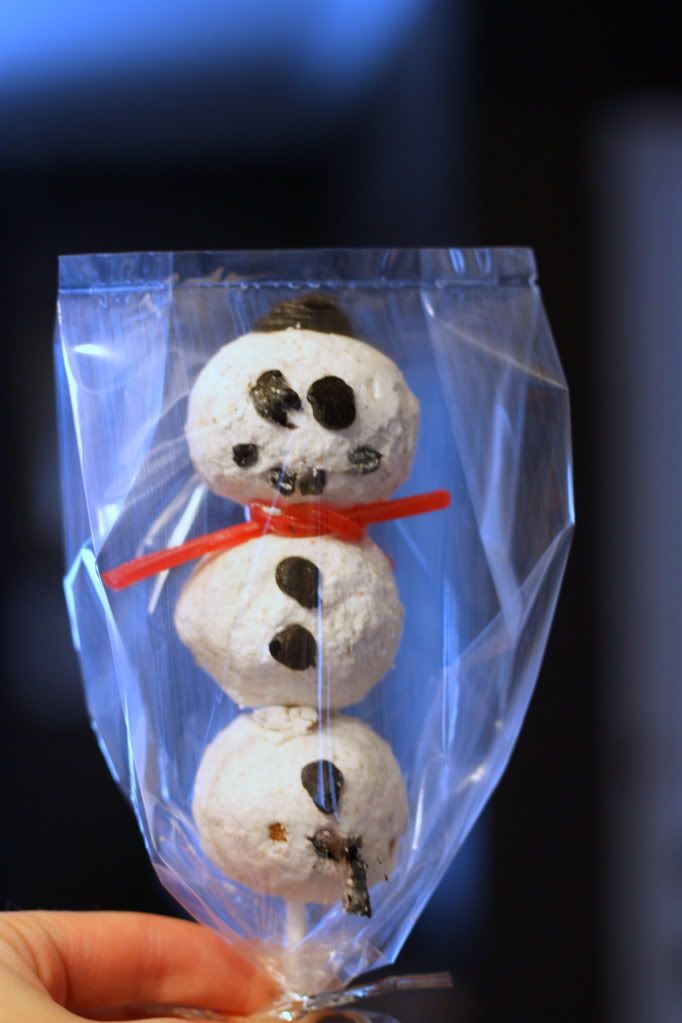
Donut Snowmen

It's DECEMBER!!! In my book, once December hits, it's all Christmas :)
So, to start off the festivities of the Christmas & Winter Season, my kids & I made some yummy treats:
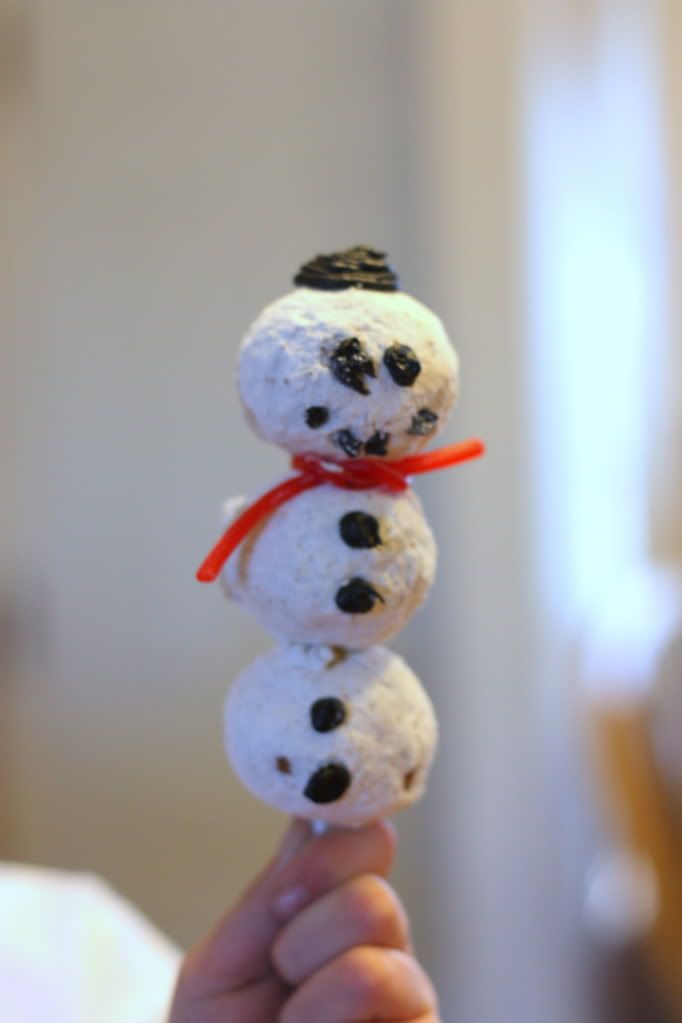
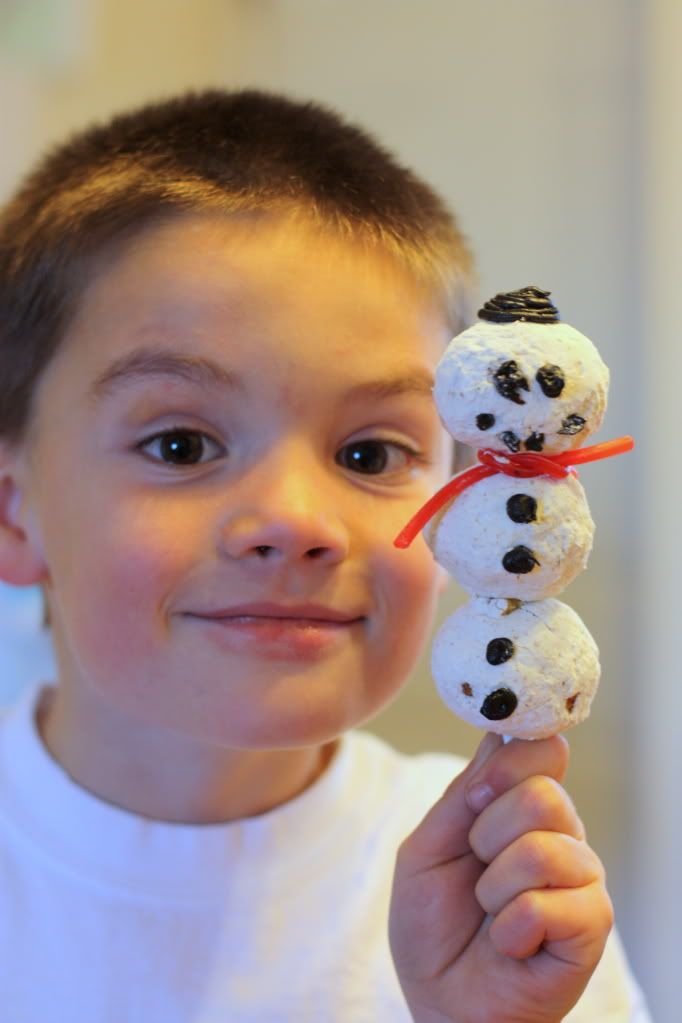
Donut Snowmen

Cute huh??? And even better to eat ;)
Want to make some? Here's what ya'll will need:
*Lollipop sticks {I got mine at Joanns using a coupon}
*Donut Holes {I got mine from Walmart}
*Black Frosting {I cheated and bought the tube from Joanns-using a coupon}
*Twizzler Pull-n-Peel
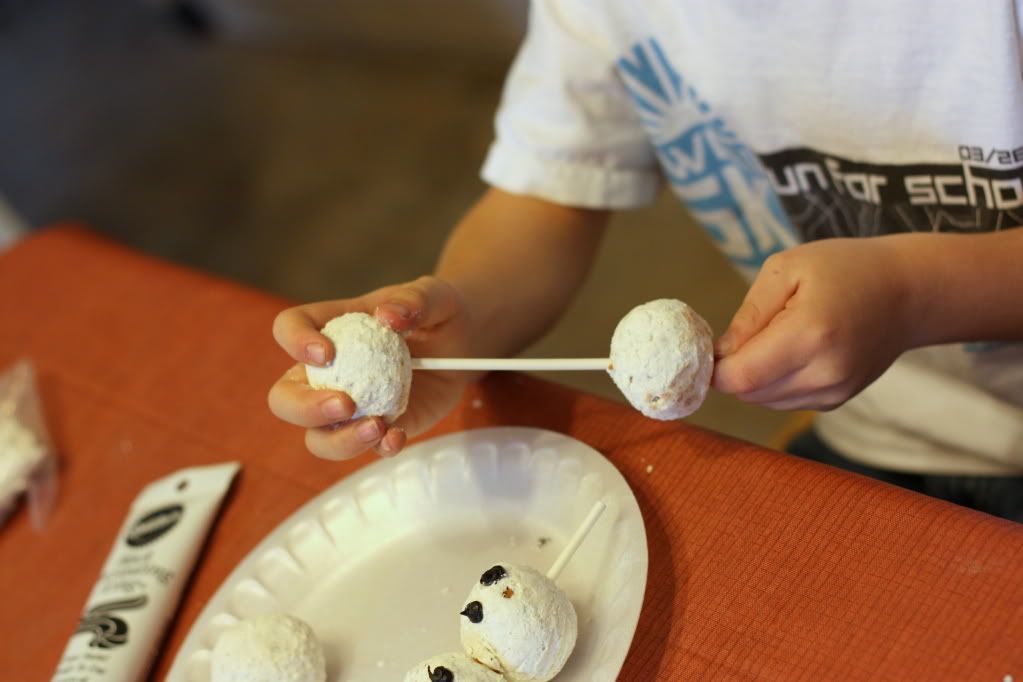
These are super easy to make. First, start stacking the donuts onto the lollipop stick.


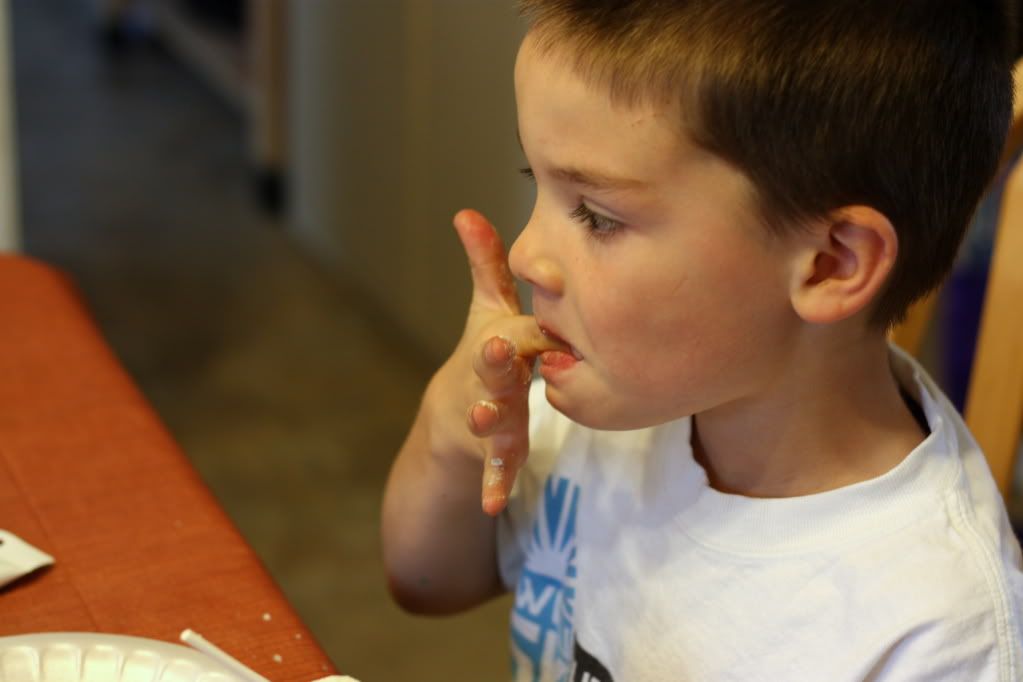
Lick fingers.


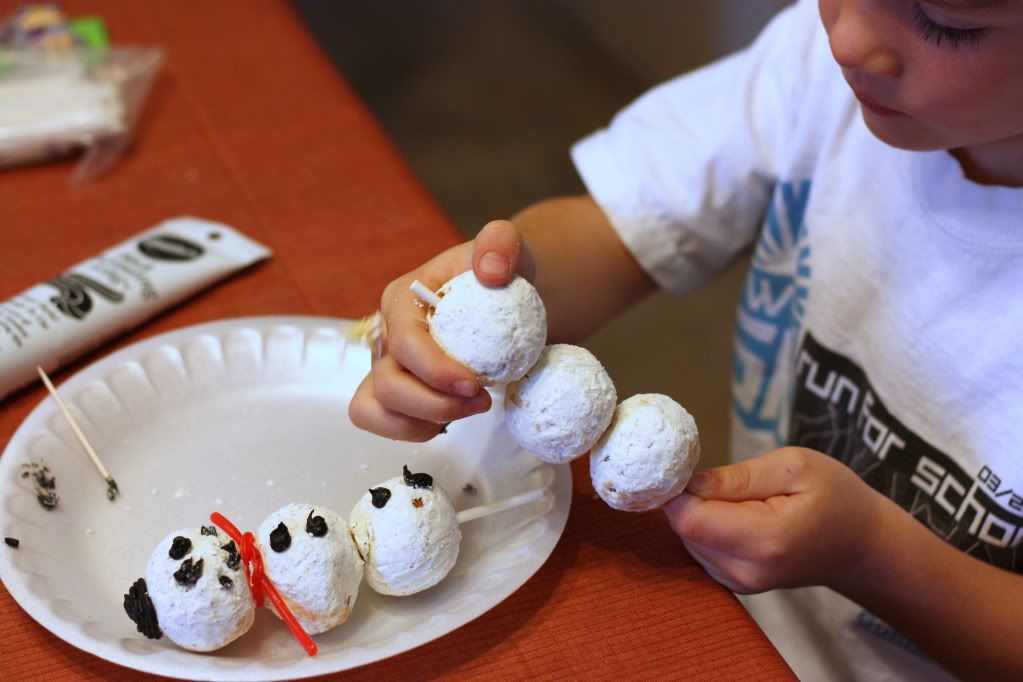
Stack 3 donuts


Next, add your frosting. One thing I found funny was that the frosting was not sticking to the powdered sugar donut. So I had to poke my frosting tip into the donut, and essentially fill in the hole as I brought the frosting out.

To finish out your snowmen, tie one of the twizzlers around for a scarf. And there you go; Instant Snowman.
And you can get creative and only give your snowman One eye, like one of my sons wanted.


My boys loved doing this. We even wrapped some up to give to Grandparents.


So if you need a fun activity to do with your kids one afternoon, try this one out.
Enjoy!

Photobucket

Visit thecsiproject.com  Six Sister's Stuff

Tuesday, November 8, 2011

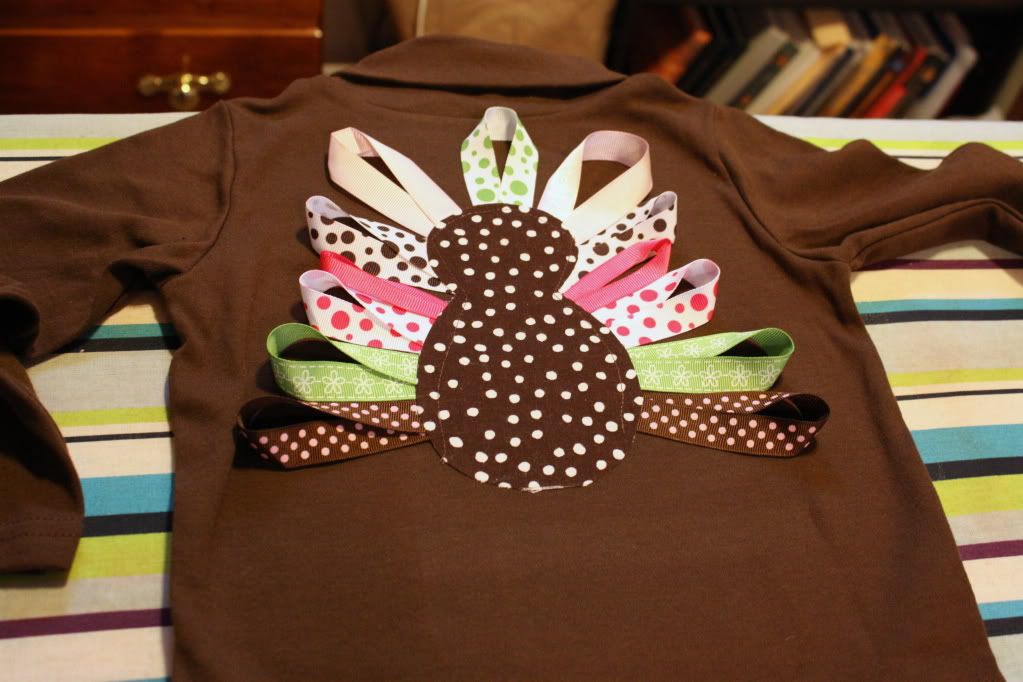
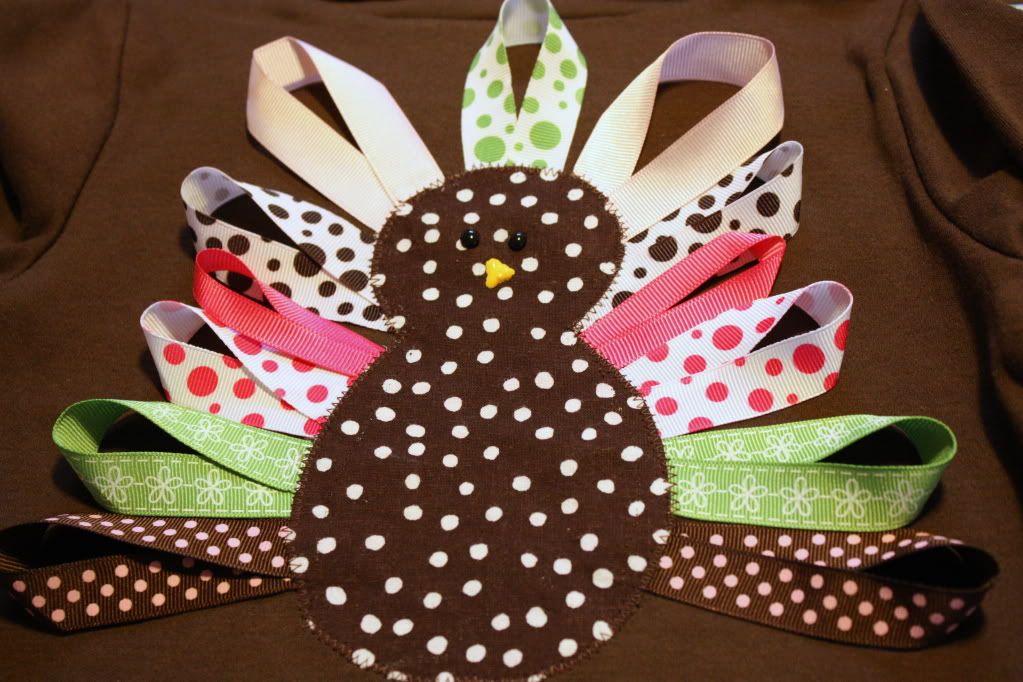
Turkey & Ribbon Applique Shirt

I love it when I see something, feel inspired, and then go out & make something. That's what I did with this project. I had seen this shirt pinned and I knew that I wanted to make it for Madison.
Follow along to see how I put mine together, and if you feel inspired to make one of your own, let me know, I would love to see pictures posted to my Facebook page!
Turkey & Ribbon Applique Shirt
Materials Needed:
Brown Shirt {or any color really}
Fabric-for the Turkey body
Fusible Interfacing
Various Ribbons
Black & Yellow Puff Paint
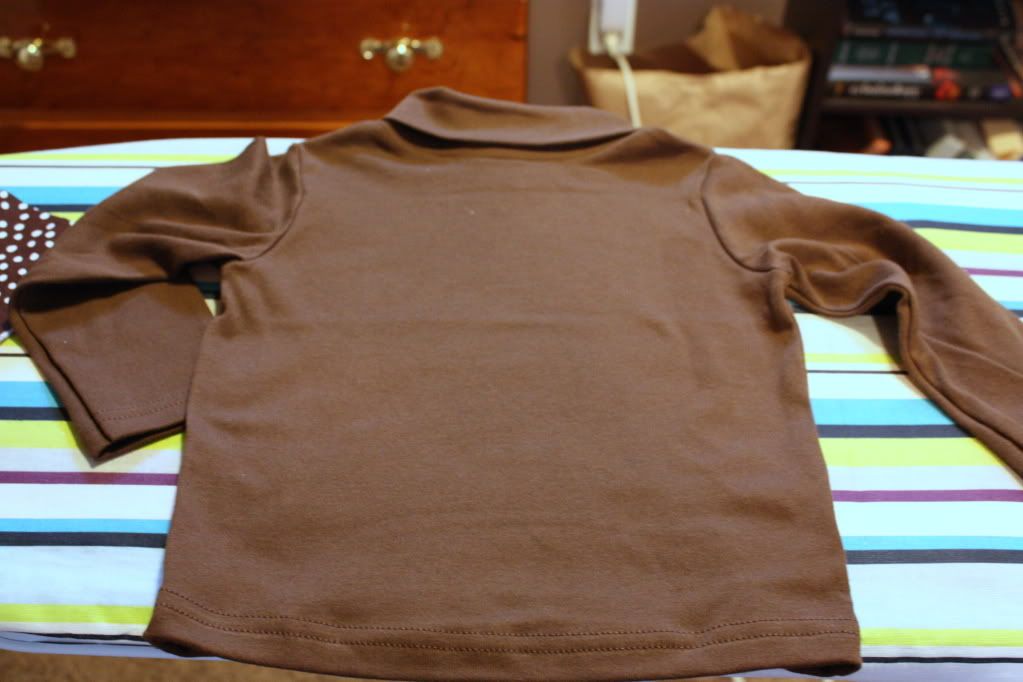
So like I said, when I saw this I felt immediately inspired to make one for Madison. So while we were at Wal-Mart, I grabbed a brown shirt. Granted, it's from the boys side {because they didn't have one in her size in the Girls section}, but I figured since I was making it girly, it would be ok.
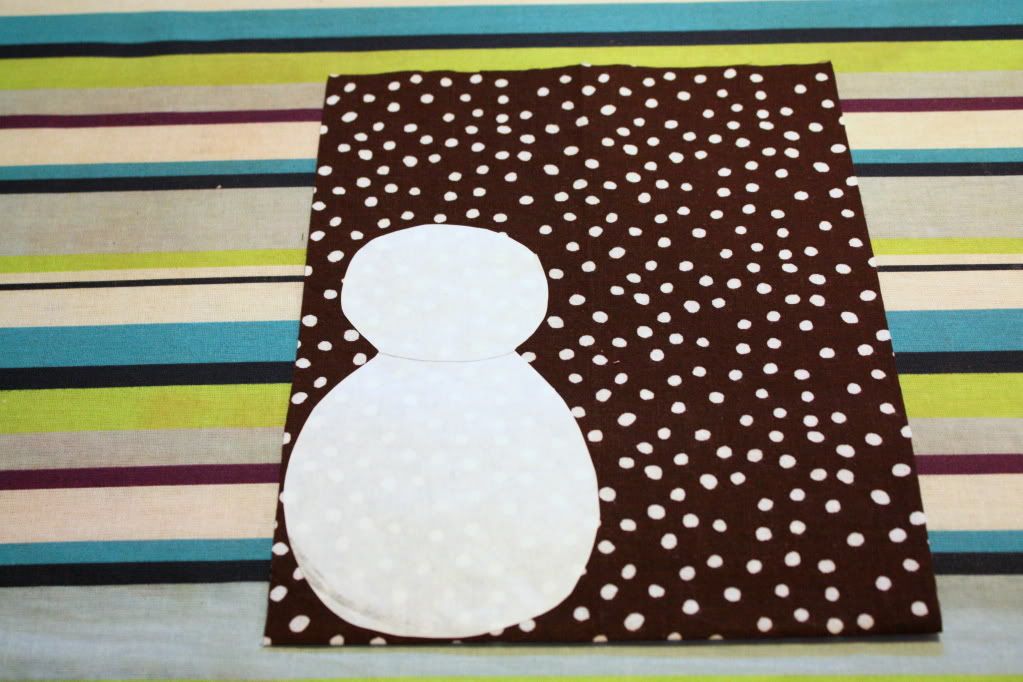
Then I grabbed some brown fabric that I had leftover. I love being able to re-use scraps of fabrics for other projects. For the pattern part, I took some freezer paper and sketched out a bowling pin-looking shape. I then ironed the freezer paper to the fabric {instead of using pins}, and then cut out two of the shapes.
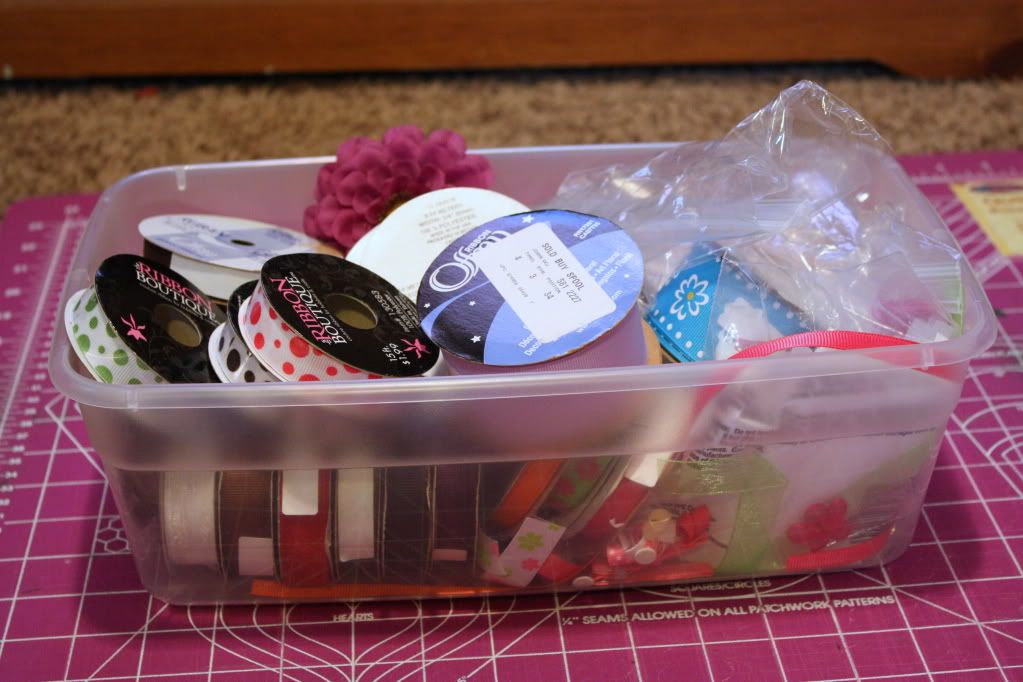
Next, I went to my ribbon box. If you've got girls, then you've probably got ribbon from making all sorts of bows. I decided on 7 different types of ribbon. This is the fun part where you can choose what you want.
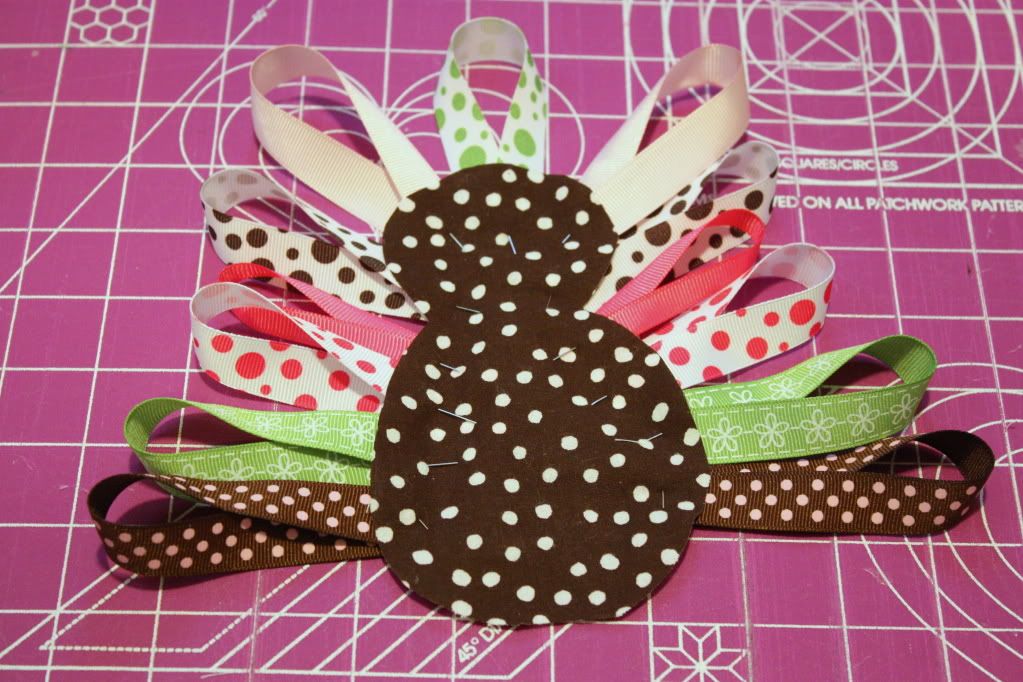
I cut all my strips 8 inches long. From there I twisted them, and would pin them various distances from the edge of the fabric.
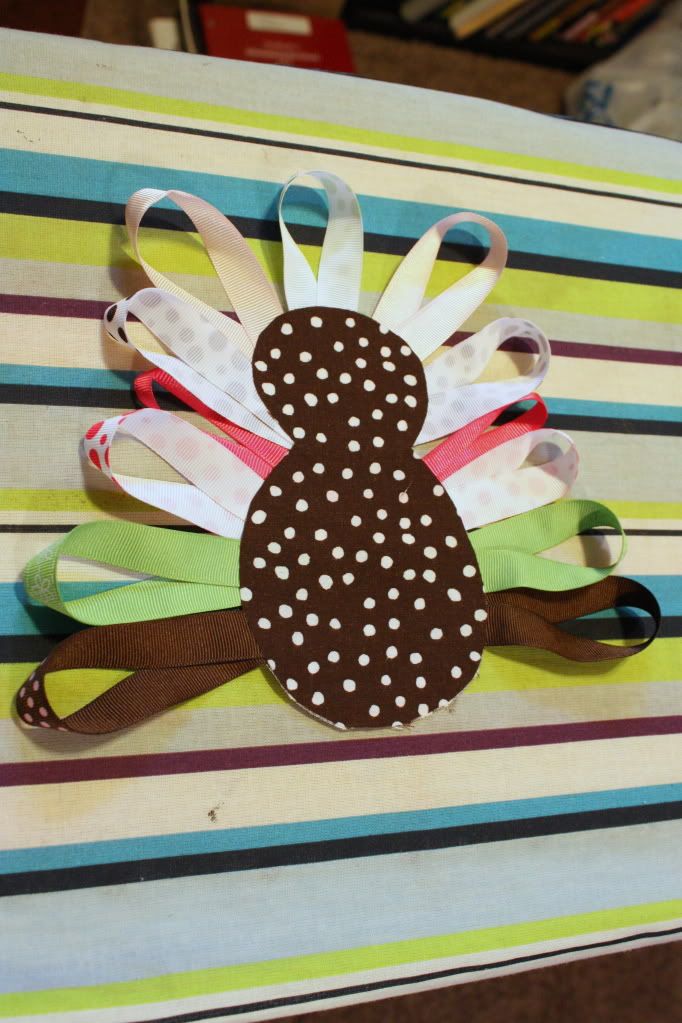
All pinned up-front facing view {what you'll see on the shirt}
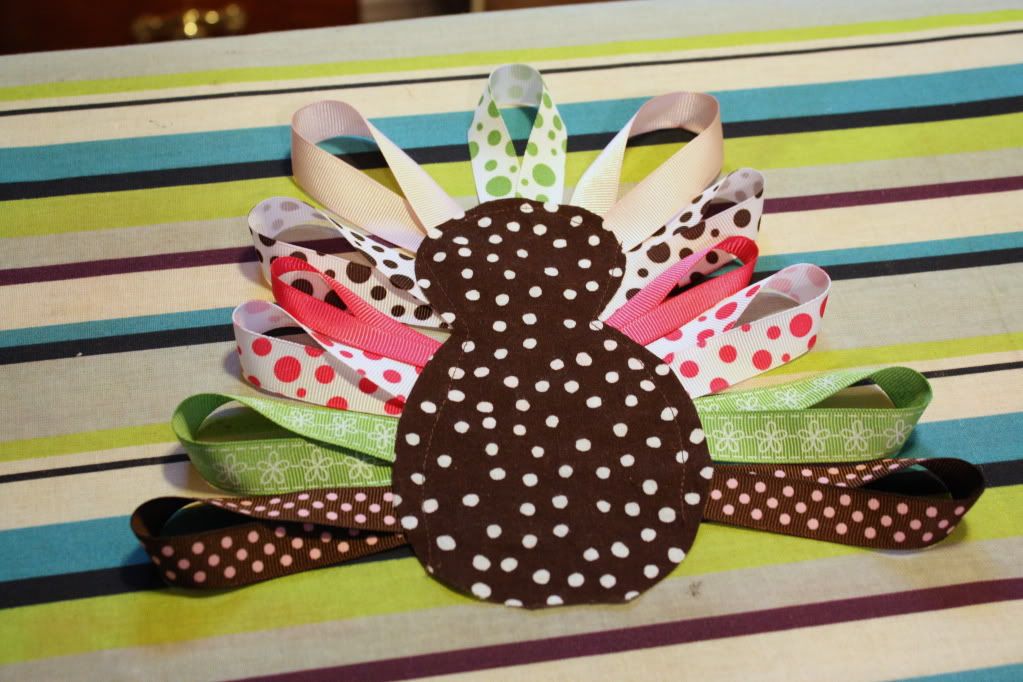
After pinning, I sewed around the entire turkey to keep all the ribbon in place.
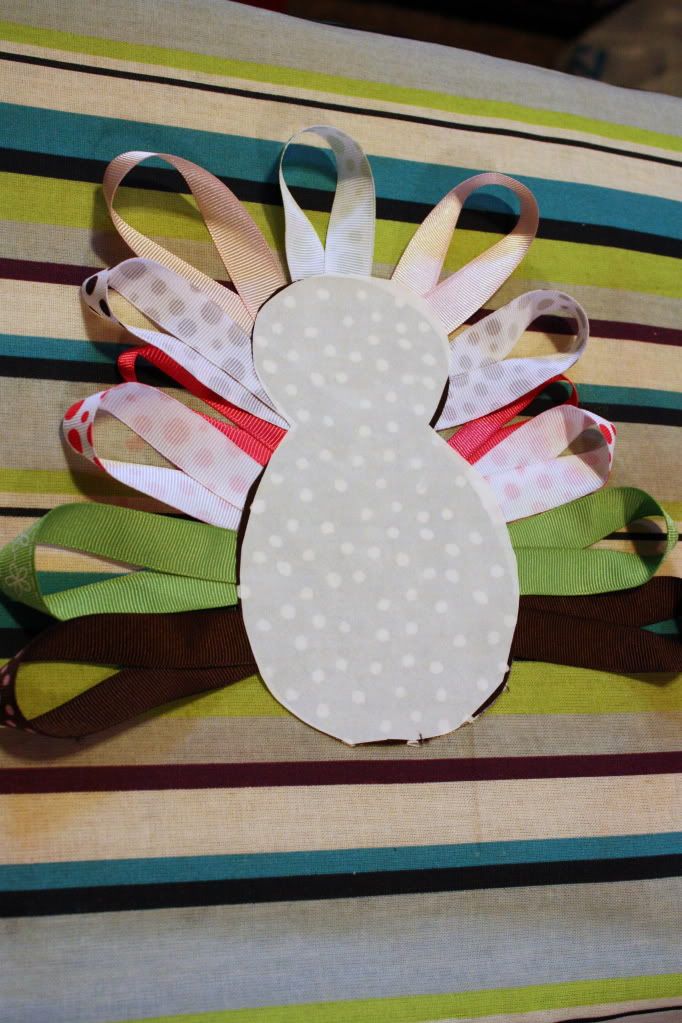
I then cut out a piece of the fusible interfacing and ironed it onto the backside of the turkey {not pictured}. I then layed the other piece of fabric and ironed the two together. This sandwiches the ribbon between the two fabrics.
Then, I cut out another piece of interfacing and ironed it onto the back of the turkey.
From there, I ironed the whole thing onto the shirt really good. I made sure to really iron it good considering the heat needed to go through a couple layers to fuse to the shirt.

I then zig-zagged around the entire turkey.
I made sure to zig-zag over the edge. From there, I picked out the original stitch I had done to hold the ribbon in place. I figured with the zig-zag stitched holding everything together, I didn't need the ugly stitch.
For the eyes & nose, I just used some puff paint that I had-give that extra dimension of cuteness.
And there you have it....A cute Thanksgiving shirt for your little Turkey!

Photobucket