Showing posts with label Tasty Kitchen Review. Show all posts

Monday, November 14, 2011

Tasty Kitchen Review : Mushroom and Blueberry Balsamic Pot Roast


A couple of weeks ago, while I was writing up a menu for the following 2 weeks, I wanted to try out some different pot roasts.  So I headed over to PW's Tasty Kitchen and typed in "Pot Roast".  This particular recipe stuck out at me.  Blueberries.  Beef.  An interesting combination.


This was a very delicious piece of meat.  Although I didn't get it fork-tender, it was still moist.  The addition of the Balsamic Vinegar & Blueberries was very good.  I didn't even give a mushrooms a chance.  I don't like them.  So I let my husband steal them off my plate.


It's nice to change up traditional recipes.

Give this a try.  Enjoy!

Photobucket

Photobucket

Monday, October 17, 2011

Tasty Kitchen Review : Salt & Vinegar Crusted Chicken


As I was browsing through recipes, this stood out......I mean, stood out.  Covering chicken {well cod in the recipe's case} with Salt & Vinegar chips....come on.


This was a very simple recipe to put together.  Mayo, some S&P, and the crushed chips...how simple is that?  And this baked up in no time flat. Especially since I used thinly sliced chicken tenders.


This was a very delicious & moist chicken.  Madi gobbled up the chicken {she's been playing vegetarian lately}.  Jaxson gobbled up the chicken......took forever to eat his green beans, but he sure ate that chicken quickly.  I had no leftovers, so that made my Fridge & I very happy.

So if you would like the recipe, click on over to here & try it out!

Enjoy!

Photobucket

Mouthwatering Mondays 

Thursday, October 6, 2011

Tasty Kitchen Review : Couscous Stuffed Peppers


Today's recipe immediately stood out to me mainly because of the couscous.  My kids love....LOVE couscous, and it's such a easy food that can be made.  I liked the idea of stuffing the peppers with the stuff.

The recipe sounded delicious and all, but.....honestly, I didn't feel like spending money on some of the more pricier ingredients {ie. ground lamb}.  But I still liked the idea of the couscous-stuffed pepper, so I ran with the idea

So, here's what I did:

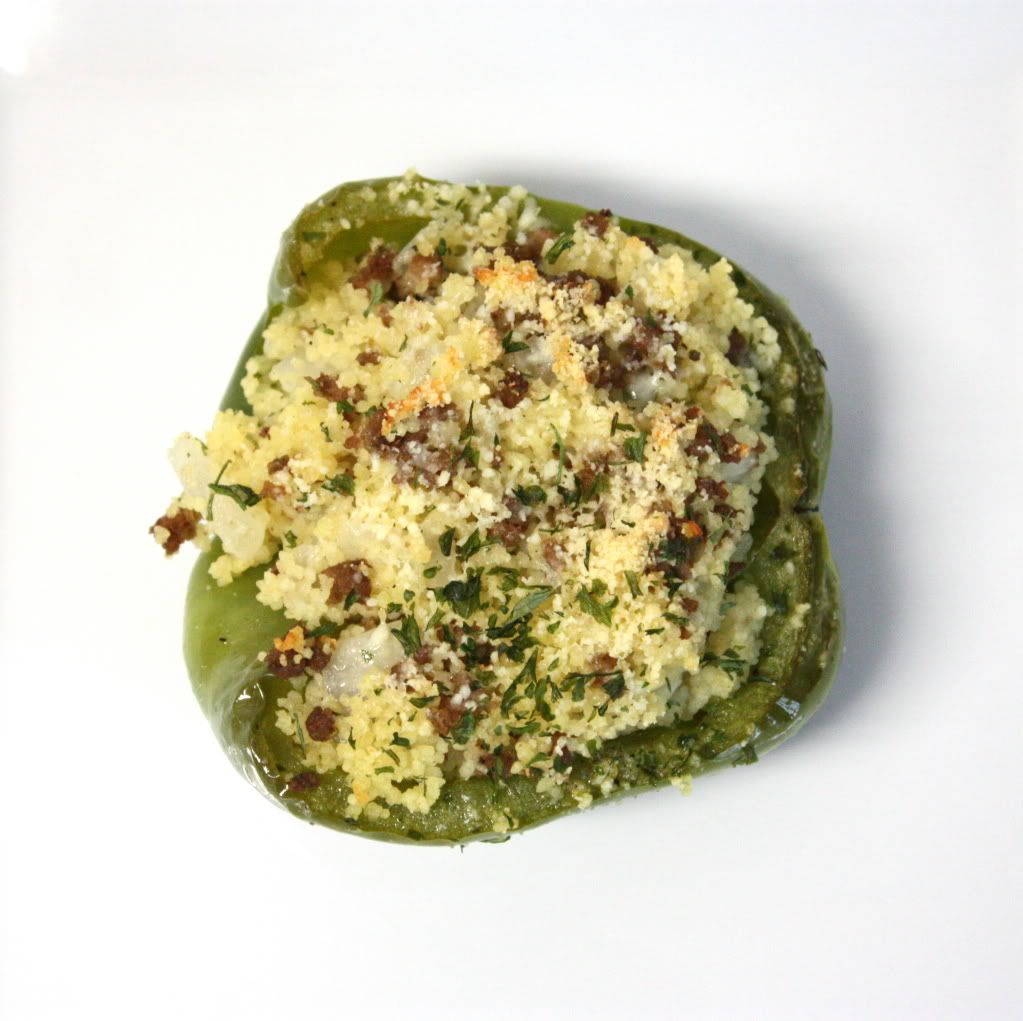
Couscous Stuffed Peppers


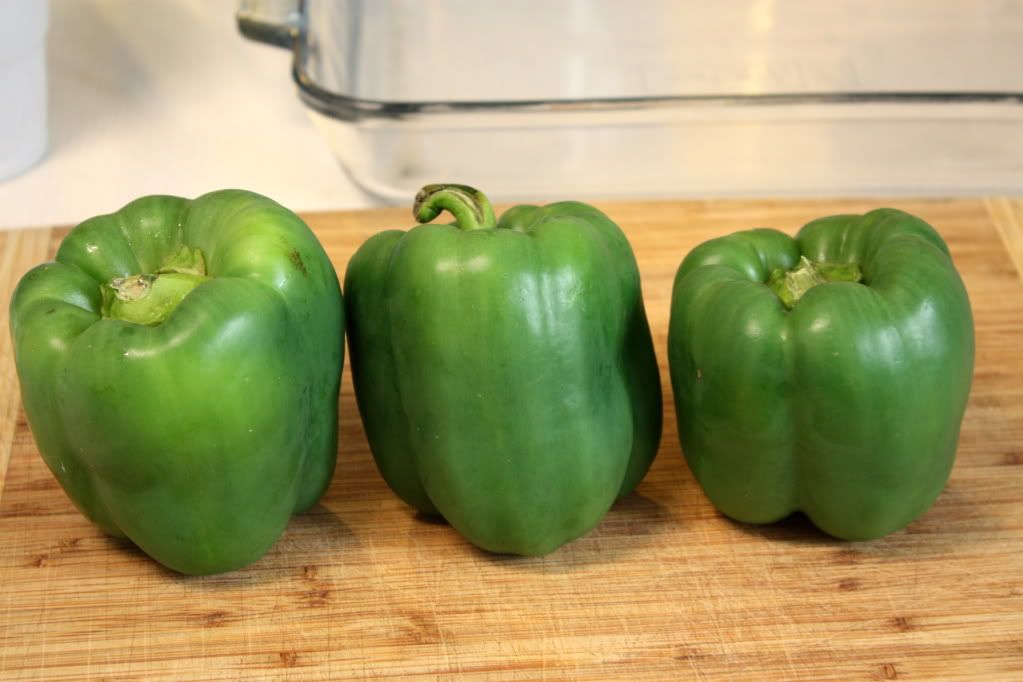
Find at least 3 good Peppers.  It can be all Green {like I did, because they're cheaper}, and you can mix it up with some different colors.  I say at least 3, but I had leftover filling that could probably fill another 3 peppers {although my extra filling was eaten by my kids, because they didn't want the peppers}.

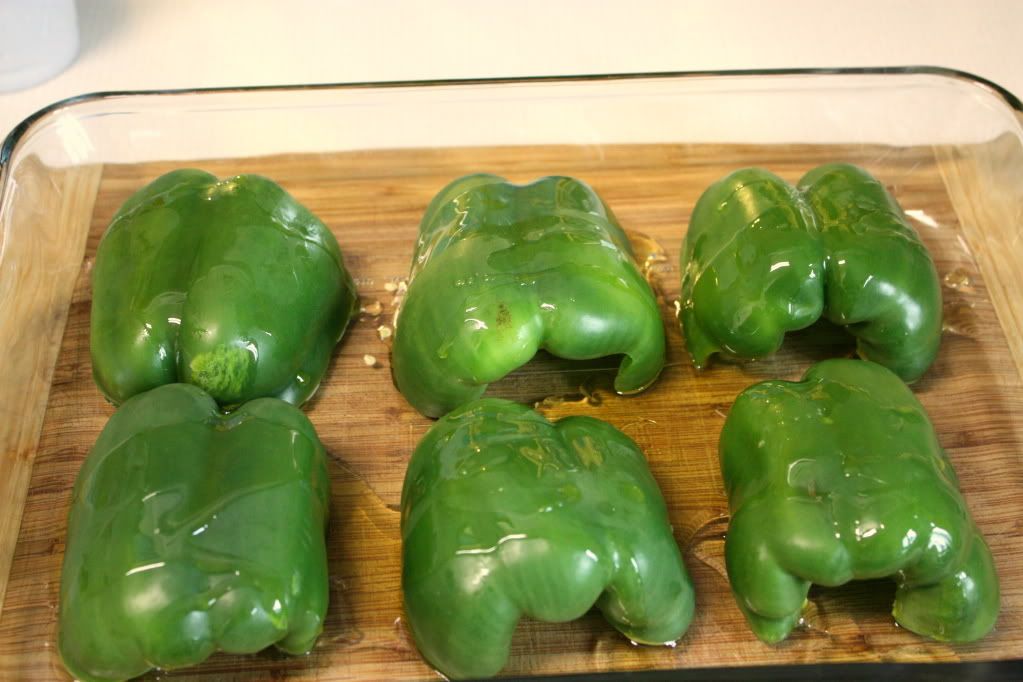
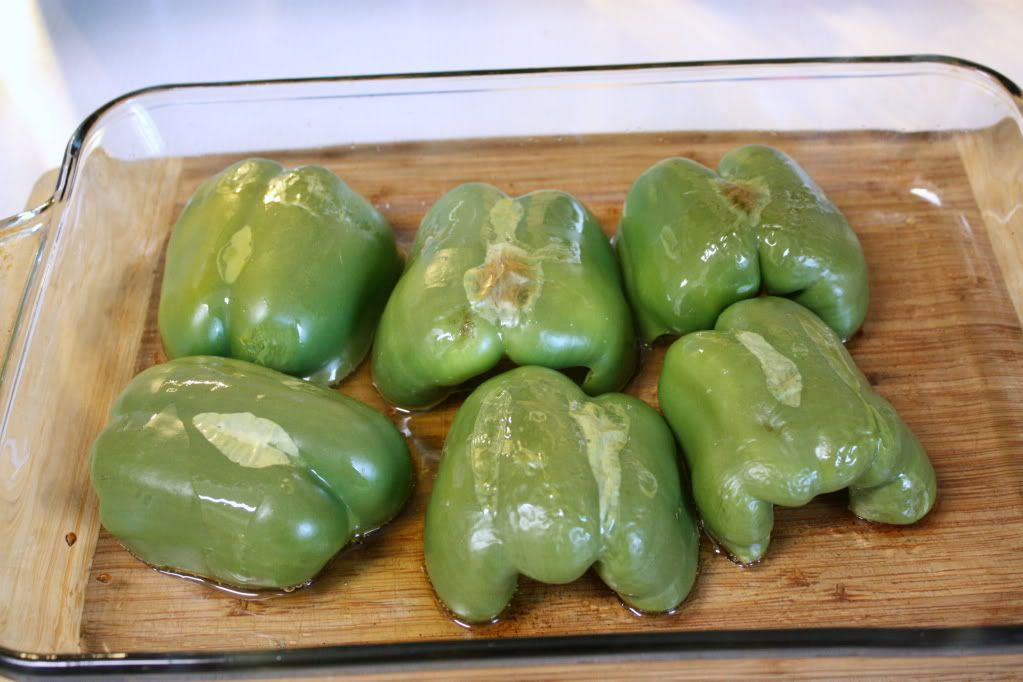
Slice the peppers in half, and scoop out the seeds & ribs.  Place them cut side down in a pan, and drizzle some EVOO over the top.

Let them roast in a 450 degree oven for 15 minutes.


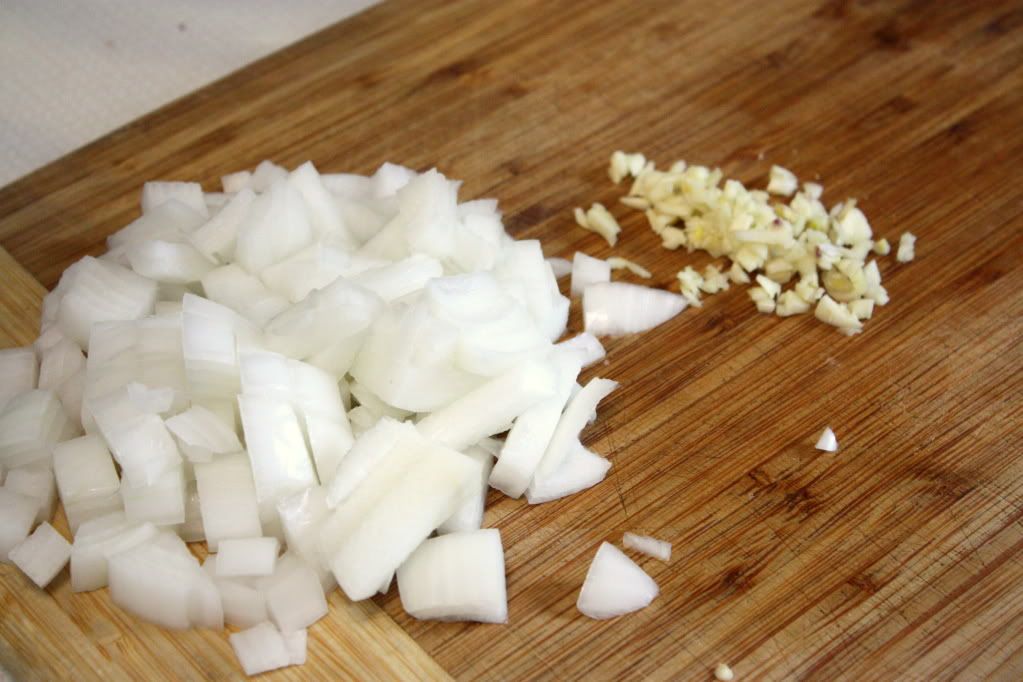
Meanwhile, chopped half a onion & mince 2 garlic cloves.

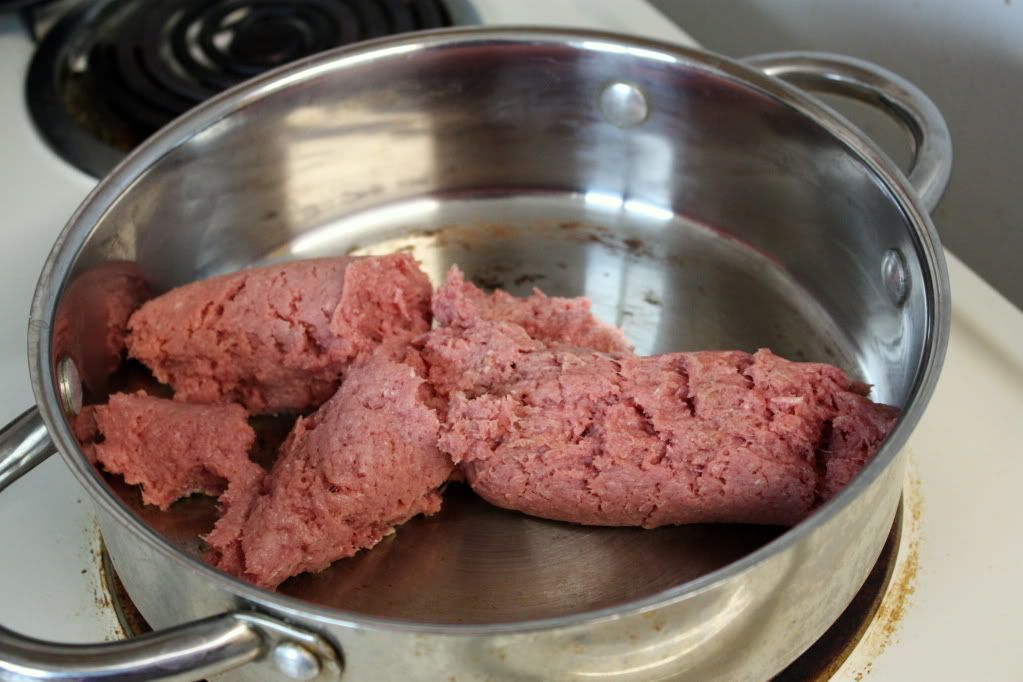
In a pan, cook up a pound of hamburger {or turkey burger-that's what I used} with the onion & garlic.

Add some salt & pepper, and because I was using turkey burger, I decided to add a couple sprinkles of poultry seasoning.


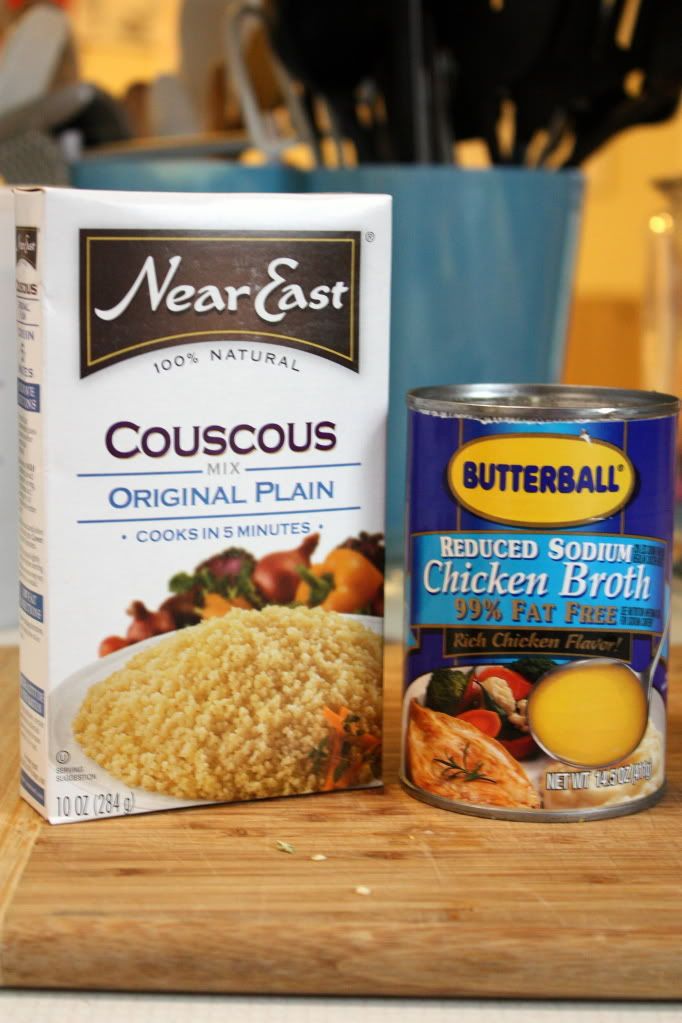
When the meat is browned and the onions have softned, add a can of chicken broth.  Bring to boil, and add a box of couscous.  Turn off the heat, take the pan off the burner, and cover & let sit for 5 minutes.

During this time, my peppers were done roasting, so I took them out and let them sit on the counter.  See the blistering starting to happen???  Perfect.


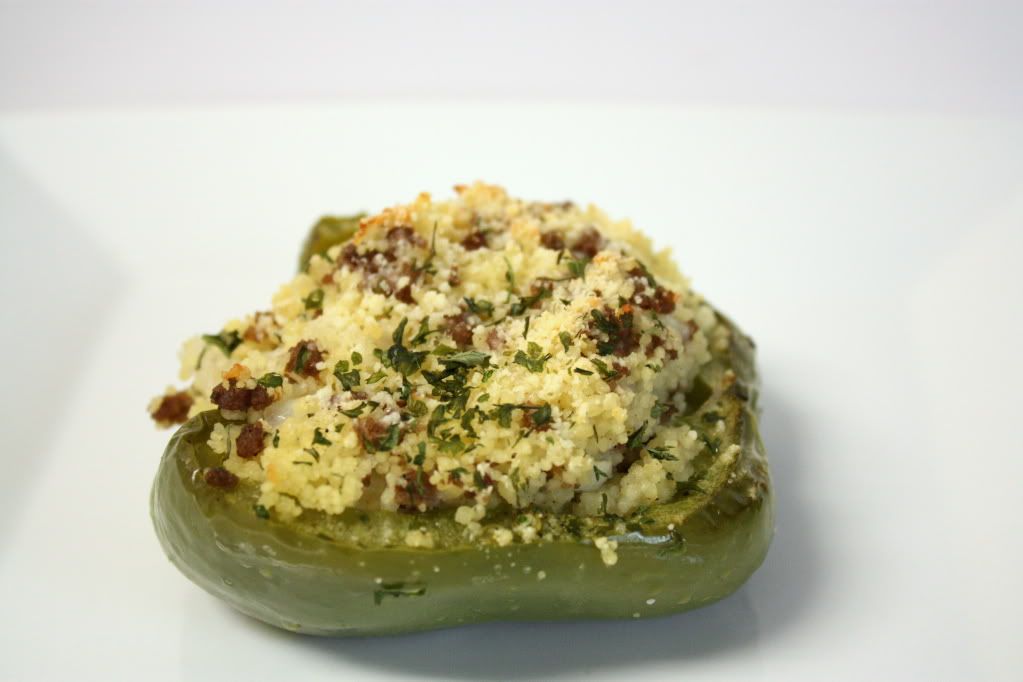
After the 5 minutes, mix up the entire meat/couscous mixture.  Scoop & fill each of the pepper shells.  Now you could stop right here, but I decided to give it a little something extra.  I sprinkled some parmesan cheese on top, followed by a sprinkling of parsley.  Stick the pan back into the oven and let it bake for another 15 minutes {this is too make sure the peppers really cook-I like my peppers nice and soft}.


And that's that.  A delicious dinner worthy of the exclamation "Yummo!".


 My kids completely devoured this.  My oldest son ate three servings of the stuffing.  I loved the stuffing with the pepper-it was delicious!

I hope you try this out.  Enjoy!

Photobucket

Mouthwatering Mondays

Saturday, October 1, 2011

Tasty Kitchen Review : Toasted Ciabatta Sandwich with Brie & Bacon

When I was trying to figure out the menu for my family these next two weeks, I needed some inspiration.  I really do like trying other's recipes & sharing my versions & thoughts.  So this time, I went with the Pioneer Woman's "Tasty Kitchen".


I clicked under the Recipes Tab to Main Courses, and set to work finding some new, fun, and exciting recipes.

The first one I'm going to share with you is basically a Grown-Up version of the grilled cheese sandwich.

Toasted Ciabatta Sandwich with Brie & Bacon

-Excuse the Burnt top...you know One minute it's good & the next, your hurridly trying to get the pan out of the oven-

My husband was very surprised that I chose this recipe.  You see, I'm very finicky when it comes to cheese & I don't really like cooking bacon {the smell bugs the crap out of me}.  But I thought that I would try it, I mean I love Ciabatta bread :)


I liked how simple the ingredients were : ciabatta rolls, brie & bacon.  Of course I had to get all cheap & healthy & I bought Turkey Bacon; but the smoky aspect of the bacon was still there & paired very well with the cheese & bread {just like the author of the recipe said it would}.


Now, this isn't an every day meal, but it sure would be something to have again....maybe even with a cup of soup {we ate this sammies with Chips & Edamame}.


Some tips:
  • Since I bought Ciabatta Rolls instead of a loave, I just sliced off a little bit of the top {as seen in the pictures}, and just buttered the tops of the bread.
  • I cooked the bacon on top of a wire rack that was sitting on a foil-lined cookie sheet.  I stuck it under the broiler and let it cook up for a couple of minutes.
  • More so because the top of my stove was occupied with pickling supplies {my hubby was pickling up some beets}, I declined cooking these sandwiches in my skillet.  I instead turned the oven onto 400 degrees and stuck the sandwiches on the same wire rack, and let them cook for at least 5 minutes.  When I noticed the cheese start to melt, I turned the broiler on to brown up the tops {and as you can see, I did it a wee bit too long}.
  • Don't pre-slice your Brie; I thought I was being efficient in doing so, and didn't realize how soft this cheese really is.
    I hope you'll give this recipe a try; I thoroughly enjoyed it!
Photobucket
Mouthwatering Mondays