Showing posts with label Sewing. Show all posts

Friday, May 25, 2012

DIY Washcloth Toothbrush Pouch

A week or so ago, my Fabulous friend Emily, shared this tutorial on making a Traveling Toothbrush Pouch.

I immediately loved the idea.  LOVED.

So the next time that I was at Ross's, I picked up some washclothes {I grabbed a pack of 8 making each washclothe 50 cents!}, and went to work.


These were super easy to make, and I was lucky that I had lots of ribbon to match.  I used a different kind of ribbon for each person in my family.


I love how they turned out, and I'm excited to use them on our forthcoming trip to CALIFORNIA!!!

Thanks for stopping by!
Photobucket
You can find this awesome post linked up to the following Fantastic Parties:


Friday, March 2, 2012

Madison's St. Patricks Day Tights

Ok.  So this was probably one of the simplest, quickest projects I have ever done.

10 Minutes.  It took me 10 minutes to make these darling Leggins/Tights


I was in Joanns picking up some paper {for another project I'll show later}, and the line to check out was forever long.  For-ev-ferrrr.

Plus I had two rugrats.

Two rugrats who desperately needed quiet time.

And there they were, at 50% off, women's knee high socks.  They even had a fun St. Patricks theme going on.


And then I remembered that I had pinned a tutorial that used knee highs to make leggin's.  Perfect!


The tutorial was perfect {obviously because I was able to make it}.  Super easy.  All you have to do is cut off the toes, turn one sock inside out & place the other sock inside it.  Then you sew around {basically around the bottom of the sock}.

The heels become the crotch of the leggins.


Then I measured my little one, cut some elastic & sewed it inside.


And there you have it; cute little leggins!


The only thing I was sad about was the fact that this wouldn't work for much longer.  I guess if I found longer knee highs, then it would still work as she got bigger.  I guess there's always another future baby to make these on.


We have now wore them a couple of times & they have work well for this very active 2 year old!

Thanks for stopping by!
Photobucket
You can find this awesome post linked up to the following Fantastic Parties:


Thursday, March 1, 2012

Madison's St.Patricks Day Dress

~Welcome to everyone visiting from Talented Terrace Girls!~
 
So I don't normally make anything clothes-wise when it comes to the holidays, but this year for St. Patricks Day I wanted too.  Plus, how can you go wrong with some cheap shirts & fabric; all I'm doing is giving them a little flair!
 

I had boughten Madi this green shirt last year when Wal-mart had them on clearance for a buck...$1 people!  I wanted to try my hand at making some ruffles and adding them to the bottom of the dress.
 
Here's what I did...I hope it makes sense because I honestly did everything on a whim & just whipped it up.
 
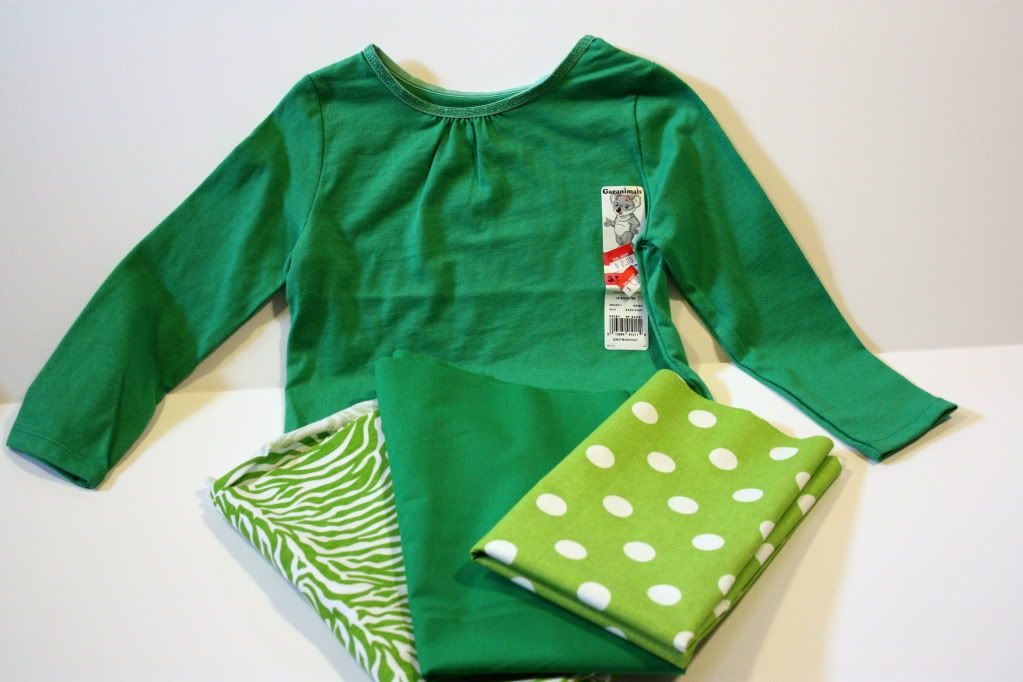
Here's the cast of Characters:
 
~A Green Shirt
~1/2 yard of Coordinating Fabrics {I used the plain green as the base}
 

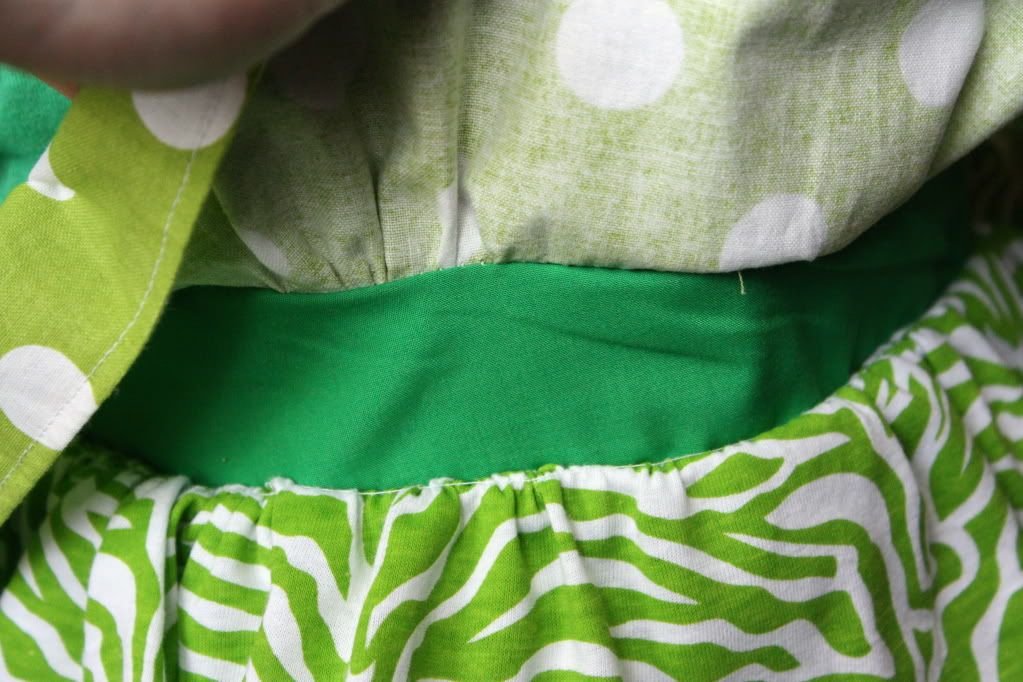
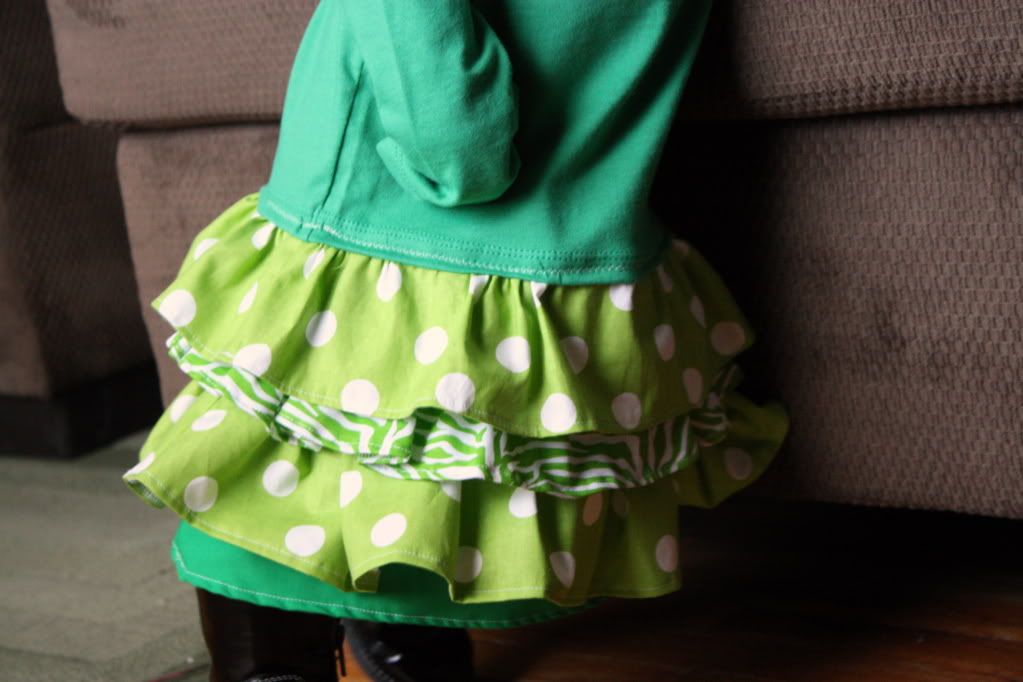
At first, I thought I was going to make a tiered skirt & sewing that onto the shirt, but then I wanted it to be ruffly.  So I got out some paper, layed the shirt down, and drew a trapezoid.  I then used that shape to cut out the plain green piece of fabric.  This is what I would sew all the ruffles onto too.


I then just cut out strips {4" wide} of the fabric.  Since I had my Mom's serger at my house, I serged both sides {to prevent fraying & make it easier for hemming} and then hemmed one side.  On the other side, I made a gathering stitch so I could gather the fabric.

Then, on the green piece of fabric, I used a pencil & ruler, and marked lines of where I wanted each piece of ruffle to be placed.  I then took each piece of ruffled fabric & pinned it the green fabric {making it fit of course}.  Then I sewed it down.


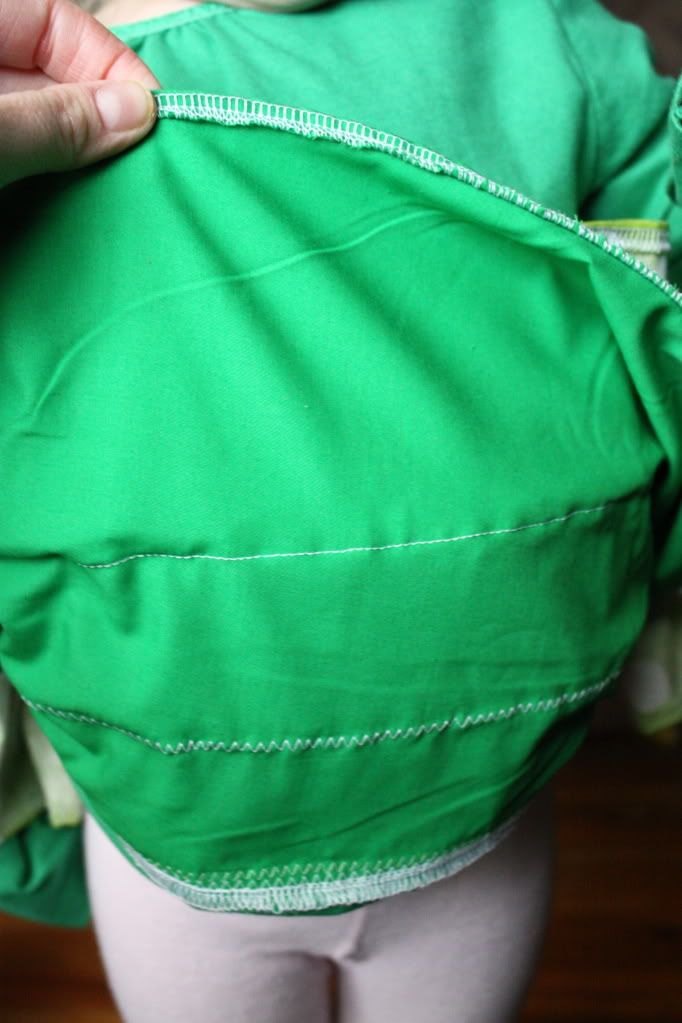
This is the underneath part where you can see where I stitched everything.  I let the bottom part of the green fabric be apart of the skirt as well by serging the bottom and then hemming it up.

 
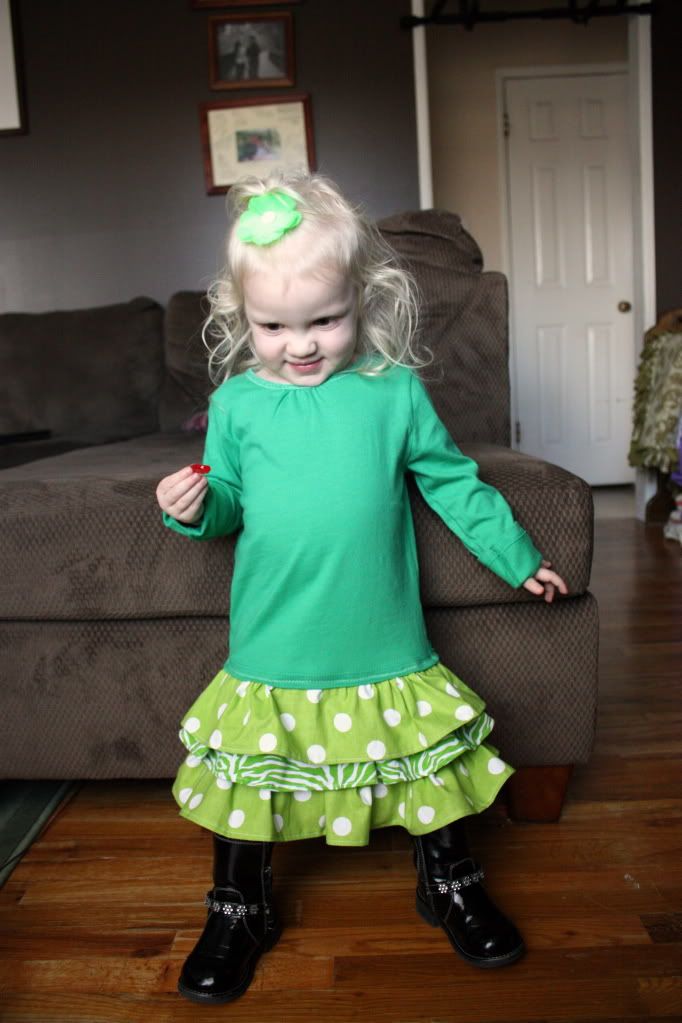
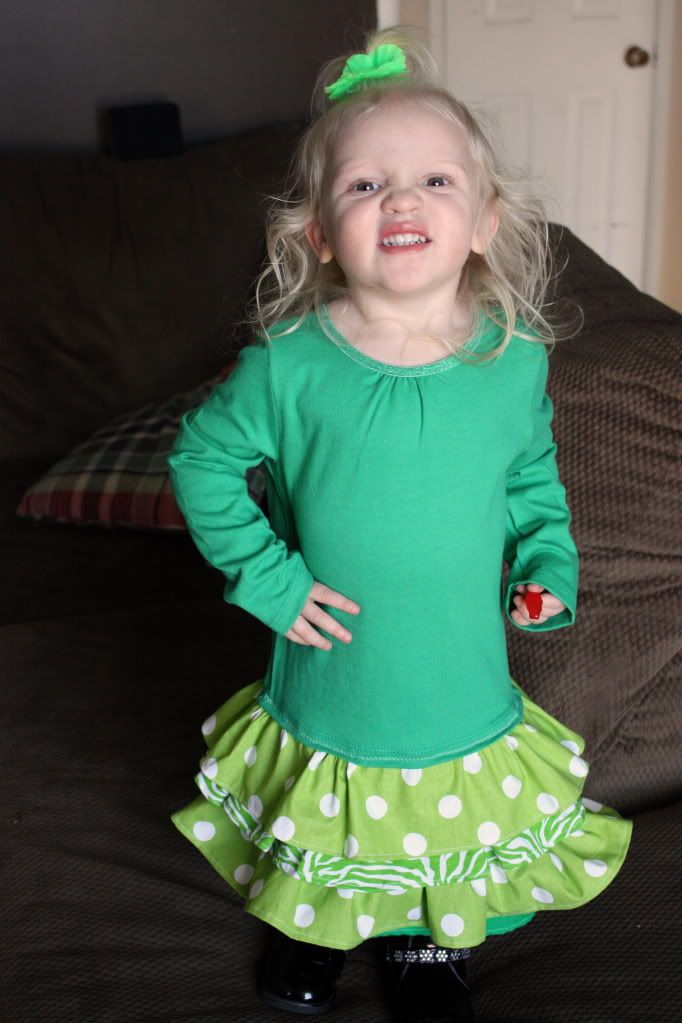
And thats that.  Madi was quite excited to try it on!
 
And yes.  It's a little long....but that just means she can wear it next year too!
 

I was so happy that she was in a good mood that afternoon I took pictures....look at that adorable face!


I love these ruffles!  Especially the little green zebra jersey print :)


Ok...so when we put this dress on downstairs, Madi struck a pose without me even asking.  I thought it was so stinkin' adorable, so when we came upstairs to take pictures, I tried to get her to recreate it...this was the closest we got.

 
Thanks for stopping by!  Come back tomorrow because I've got another fun St. Patricks clothes item...some darling Leggins'

Photobucket
You can find this awesome post linked up to the following Fantastic Parties:


Thursday, January 5, 2012

Denim Circle Skirt


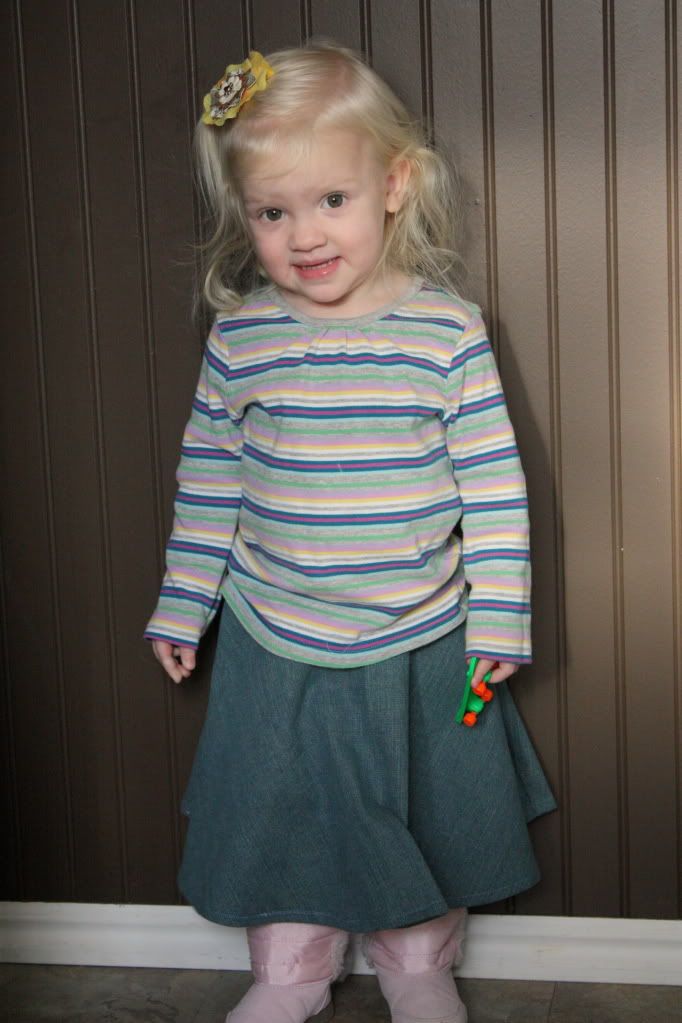
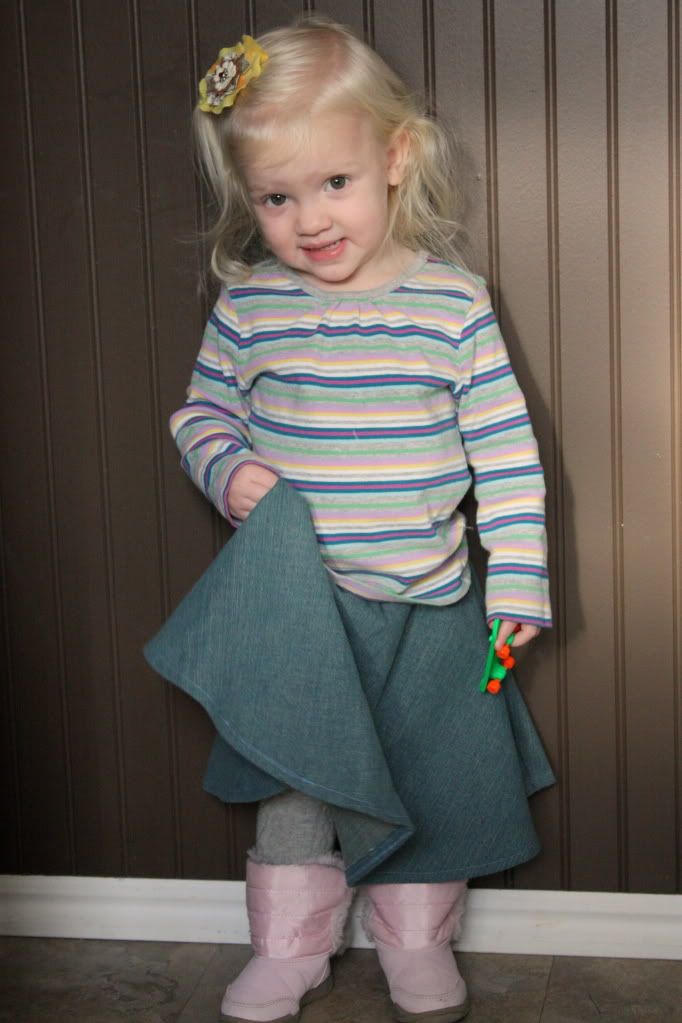
My little girl needed a new denim skirt.  Denim skirts go with everything, especially with all the cute tights out there!  The problem was finding a denim skirt.  Enter in Joanns with a Denim Sale {50% off}, and I've made her a pretty cute skirt for half the cost I probably would have spent.


I decided to go with the Circle Skirt from MADE.  Dana does a great tutorial {I mean, I can whip these up in an hour or less}.  I've made Madi previous skirts from this same tutorial & I've been very happy with them.  With this particular skirt, I took my original pattern & extended it 2 inches all the way around because I wanted this to be a bit longer since it's winter.


Madi is loving it!  There was no fuss from her to try it on or even put it on today!

So if you're looking to make your little girls or even yourself a new skirt, check out that tutorial!

Thanks for stopping by!

Photobucket

Tuesday, November 8, 2011

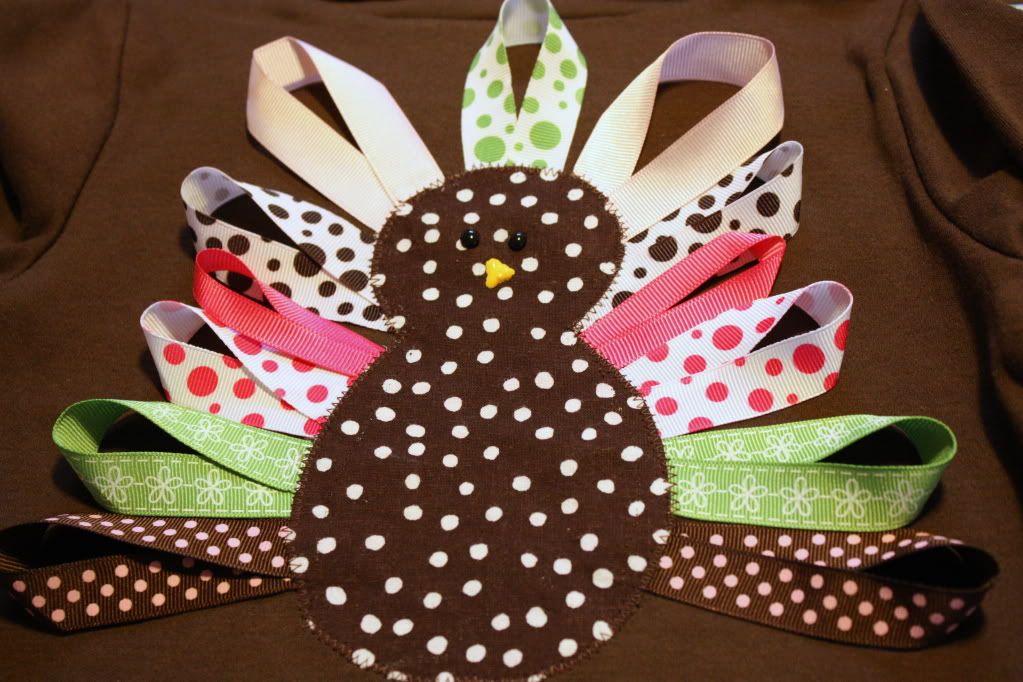
Turkey & Ribbon Applique Shirt

I love it when I see something, feel inspired, and then go out & make something. That's what I did with this project. I had seen this shirt pinned and I knew that I wanted to make it for Madison.
Follow along to see how I put mine together, and if you feel inspired to make one of your own, let me know, I would love to see pictures posted to my Facebook page!
Turkey & Ribbon Applique Shirt
Materials Needed:
Brown Shirt {or any color really}
Fabric-for the Turkey body
Fusible Interfacing
Various Ribbons
Black & Yellow Puff Paint
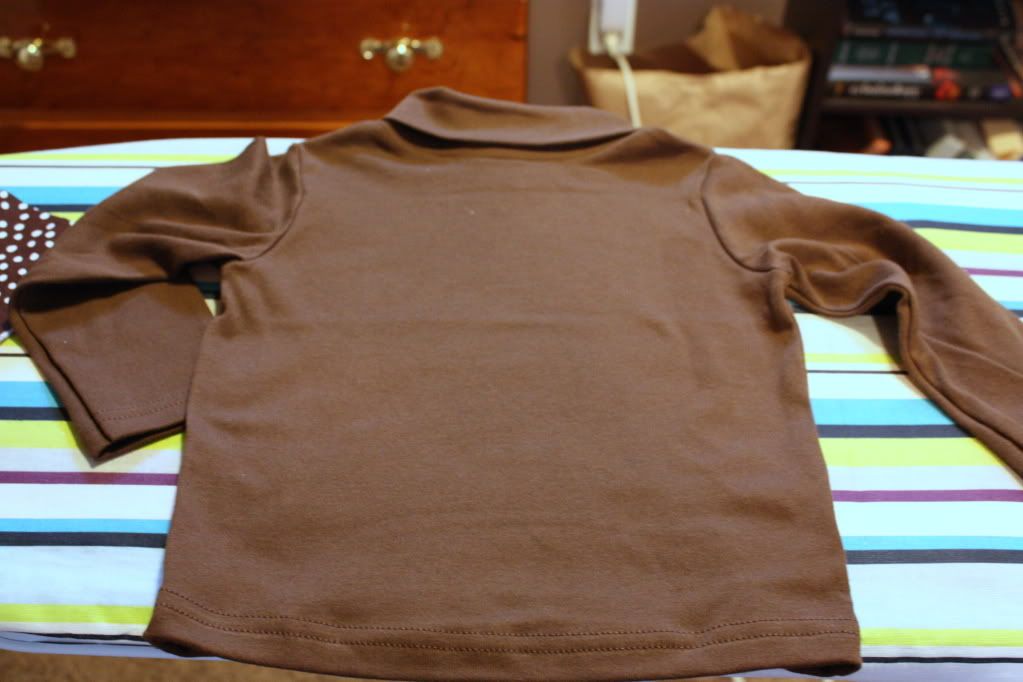
So like I said, when I saw this I felt immediately inspired to make one for Madison. So while we were at Wal-Mart, I grabbed a brown shirt. Granted, it's from the boys side {because they didn't have one in her size in the Girls section}, but I figured since I was making it girly, it would be ok.
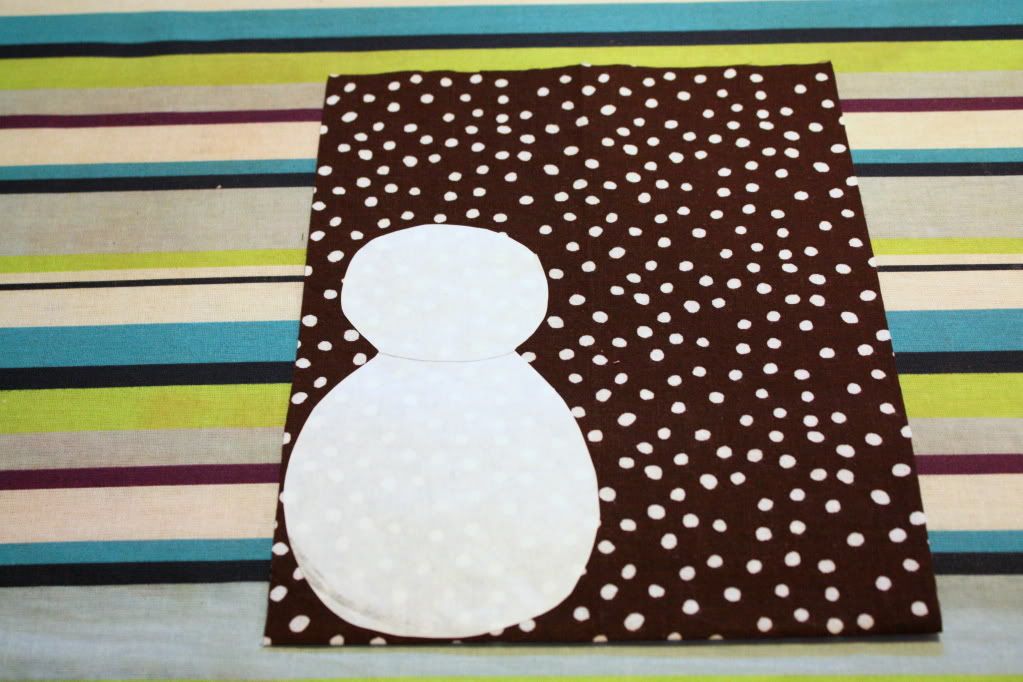
Then I grabbed some brown fabric that I had leftover. I love being able to re-use scraps of fabrics for other projects. For the pattern part, I took some freezer paper and sketched out a bowling pin-looking shape. I then ironed the freezer paper to the fabric {instead of using pins}, and then cut out two of the shapes.
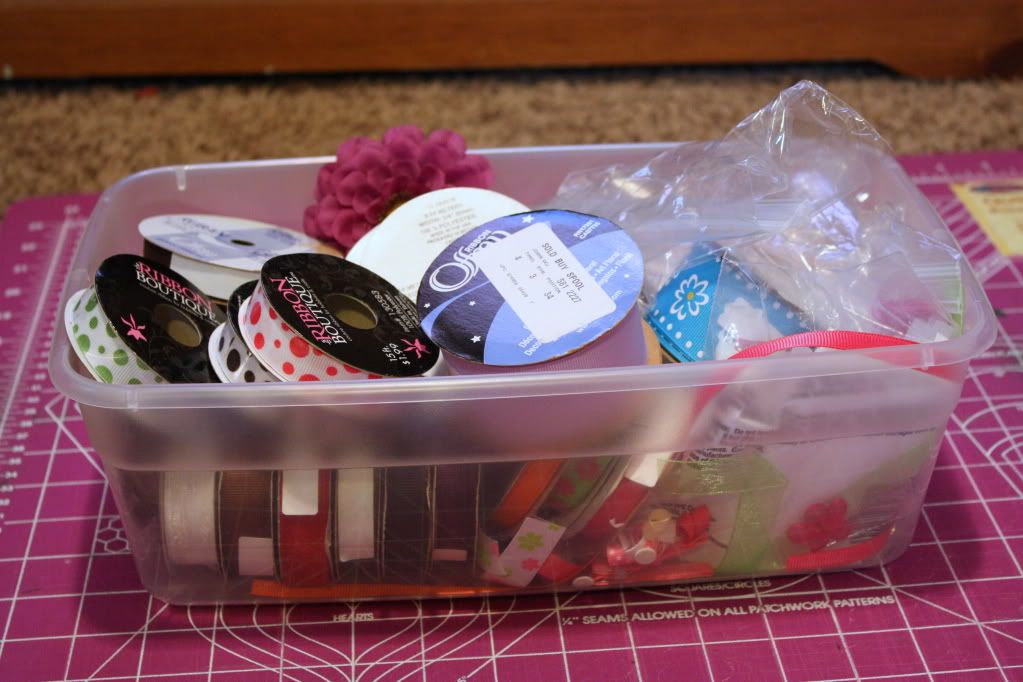
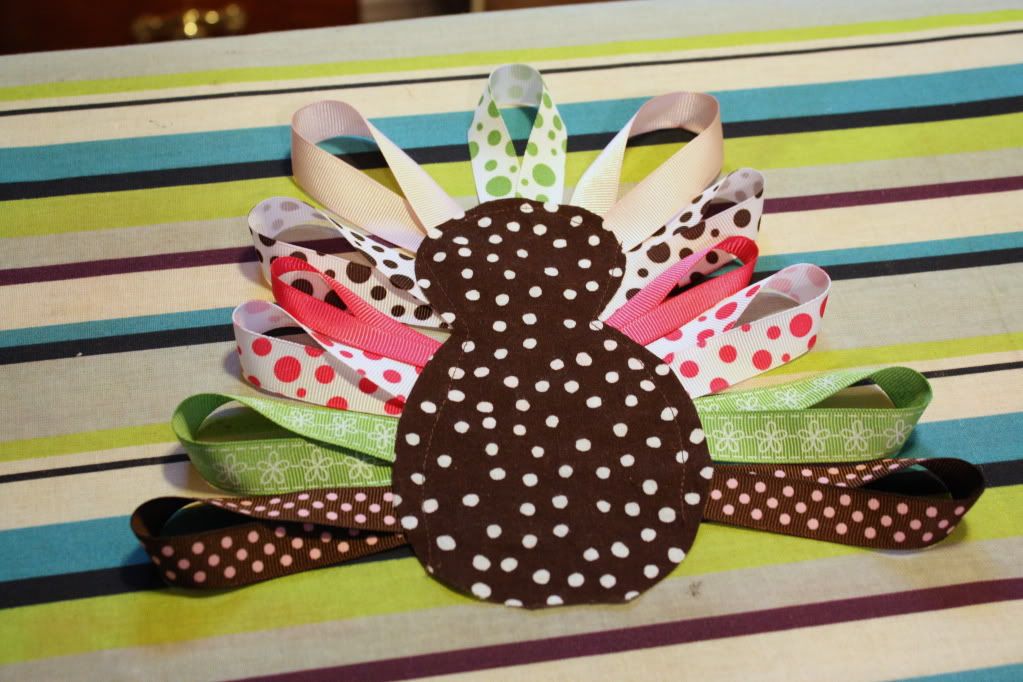
Next, I went to my ribbon box. If you've got girls, then you've probably got ribbon from making all sorts of bows. I decided on 7 different types of ribbon. This is the fun part where you can choose what you want.
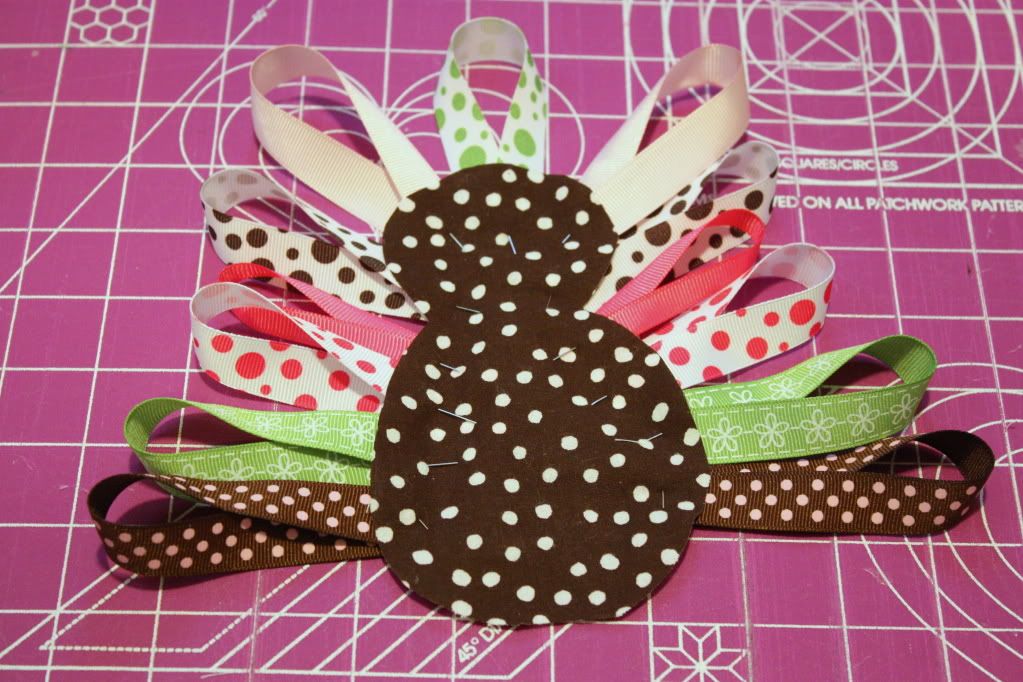
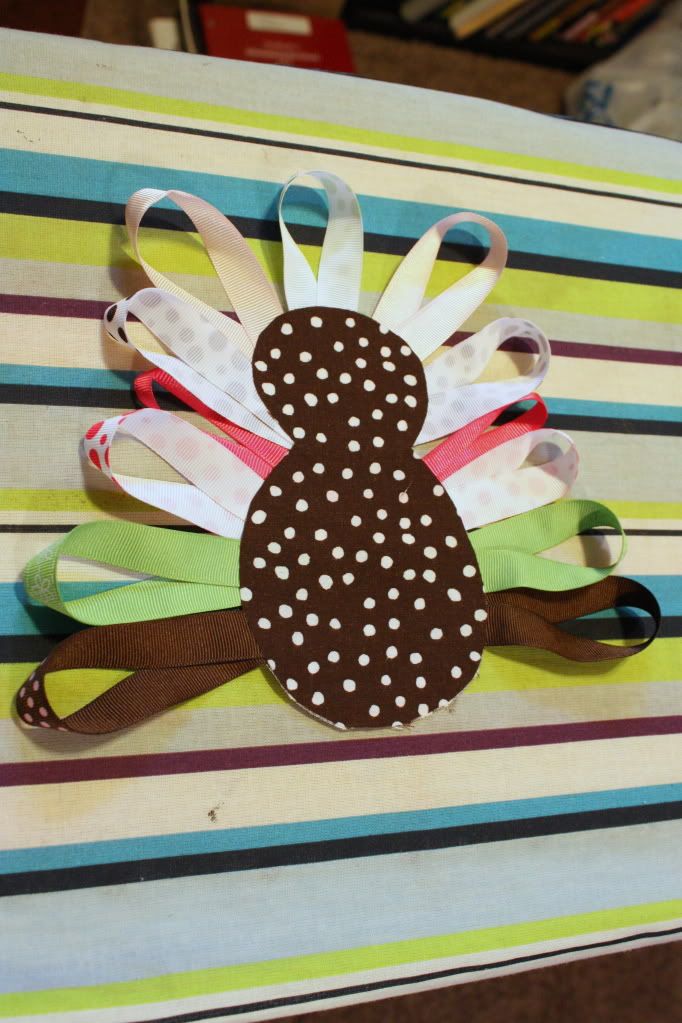
I cut all my strips 8 inches long. From there I twisted them, and would pin them various distances from the edge of the fabric.
All pinned up-front facing view {what you'll see on the shirt}
After pinning, I sewed around the entire turkey to keep all the ribbon in place.
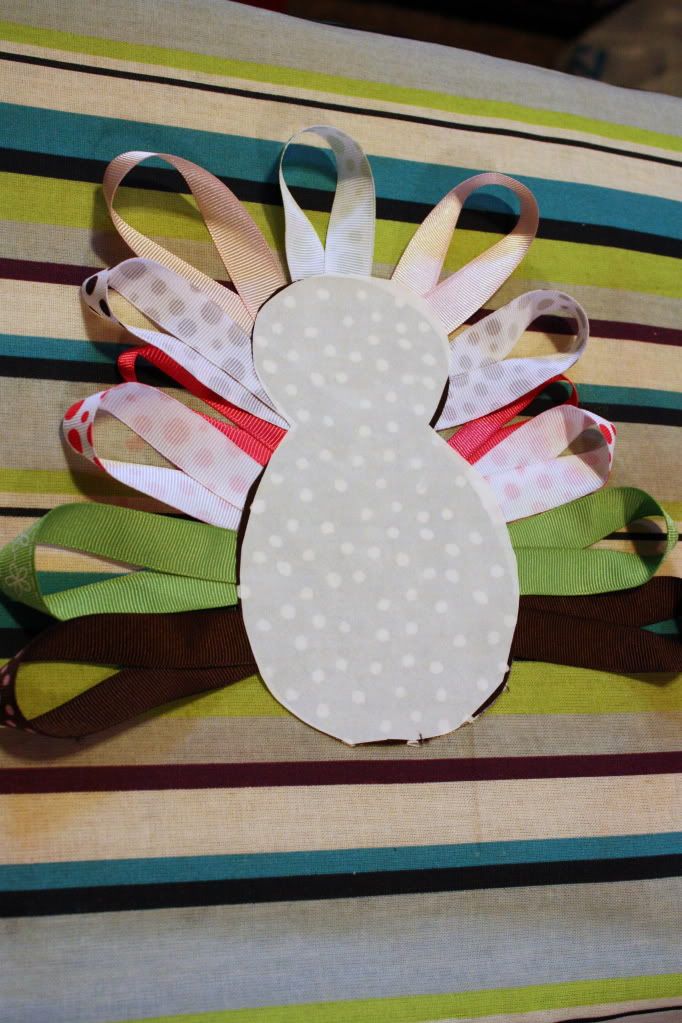
I then cut out a piece of the fusible interfacing and ironed it onto the backside of the turkey {not pictured}. I then layed the other piece of fabric and ironed the two together. This sandwiches the ribbon between the two fabrics.
Then, I cut out another piece of interfacing and ironed it onto the back of the turkey.
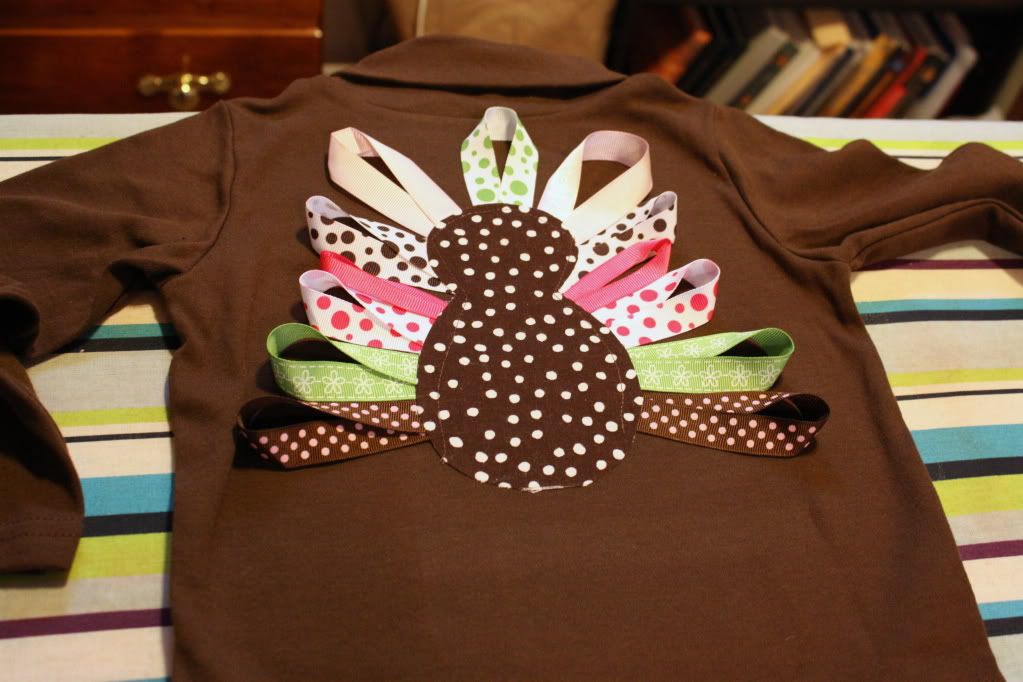
From there, I ironed the whole thing onto the shirt really good. I made sure to really iron it good considering the heat needed to go through a couple layers to fuse to the shirt.

I then zig-zagged around the entire turkey.
I made sure to zig-zag over the edge. From there, I picked out the original stitch I had done to hold the ribbon in place. I figured with the zig-zag stitched holding everything together, I didn't need the ugly stitch.
For the eyes & nose, I just used some puff paint that I had-give that extra dimension of cuteness.
And there you have it....A cute Thanksgiving shirt for your little Turkey!

Photobucket