Wednesday, December 14, 2011

Almond Cheesecake Pudding Cookies

Doesn't the name of these cookies sound delicious???

That's what I thought when I pinned this recipe a while ago...


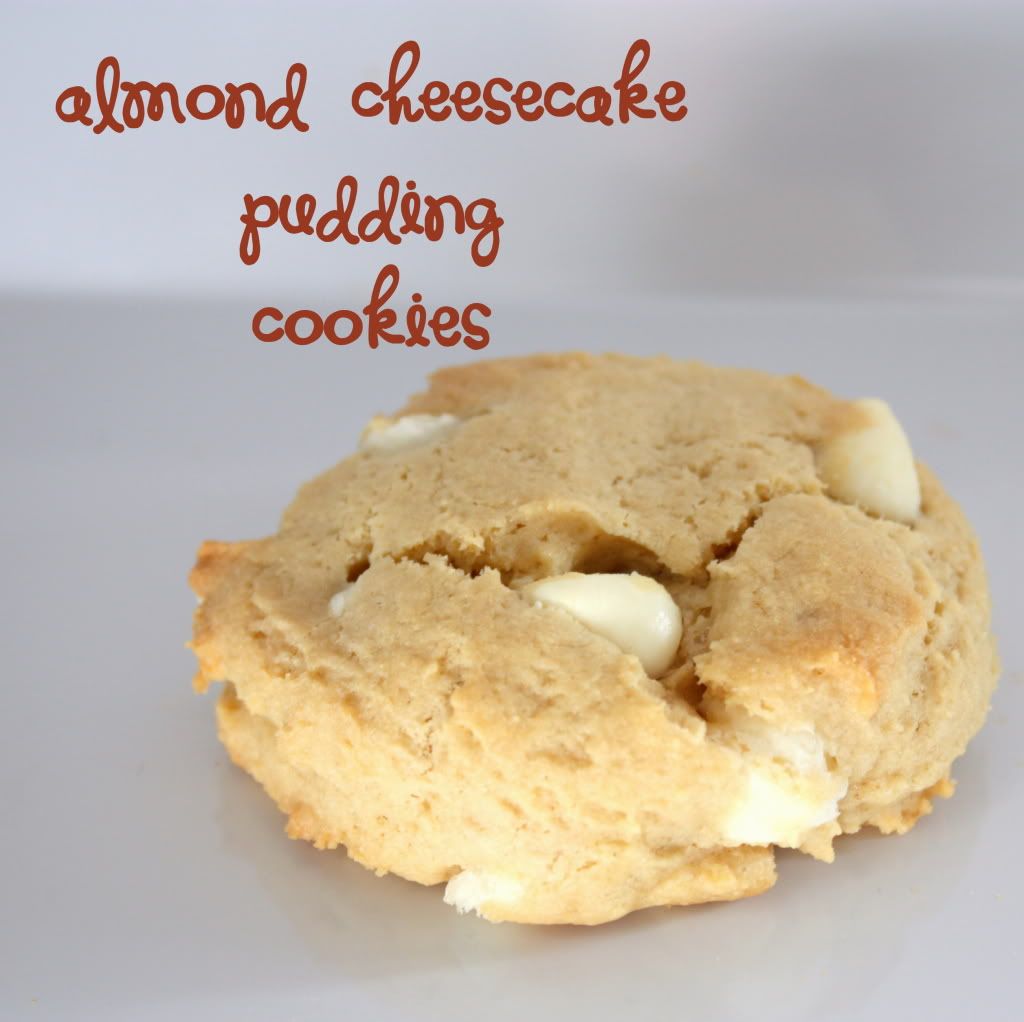
What intrigued me was the use of pudding in a cookie batter.  I've discovered that adding pudding to frosting & whipping it up is fantastic, so how could the addition of pudding {cheesecake in this case} be bad ;)


This cookie did not disappoint.  I was able to squeeze out 2 1/2 dozen cookies on Sunday afternoon, and by Sunday night, they were completely gone!  My bad for taking over every single cookie to my in-laws for family dinner.

I loved the addition of the Almond Extract-the smell was fantastic!

I had fun with my family members too.....Guess what flavors are in the cookies.  Best response: Sami, "I don't know, but it all tastes good!"


Here are some thoughts that I had about making this recipe:
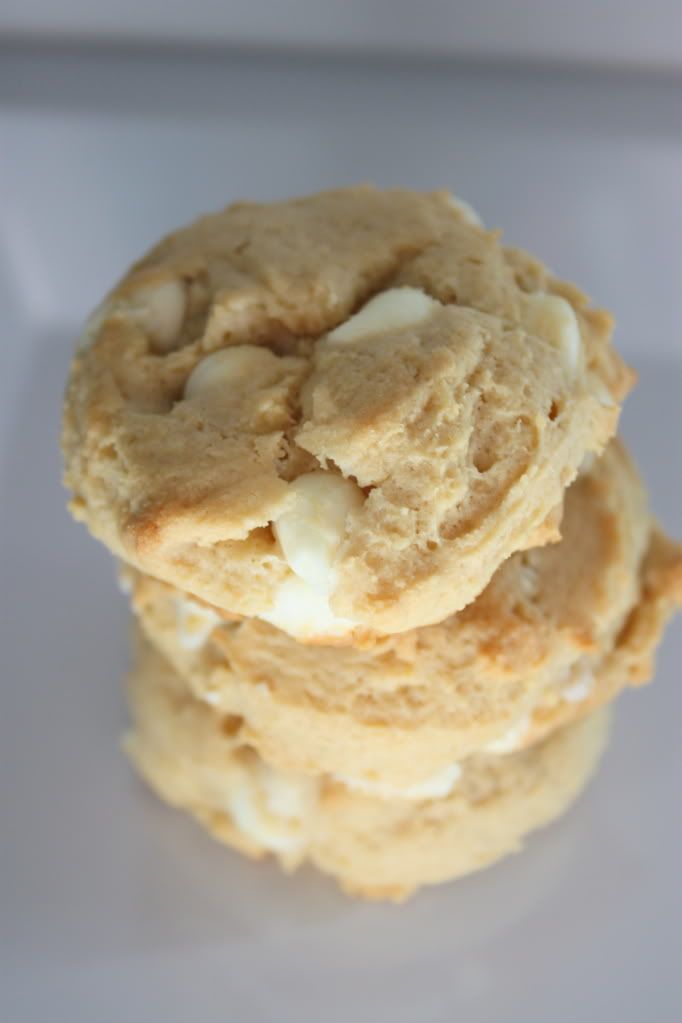
  • I think, now pondering on the recipe, I added too much flour.  The recipe called for 2.25 cups of flour, and I probably should have just used slightly less than 2 cups.  My cookies didn't flatten out, and I think it's because of that....
  • 1 Cup of Chocolate Chips seemed just perfect for the size of the recipe.
  • Reading over the recipe again, I accidently forgot to write down the 1/4 Cup of Sugar; I don't think the cookies missed that extra sugar.
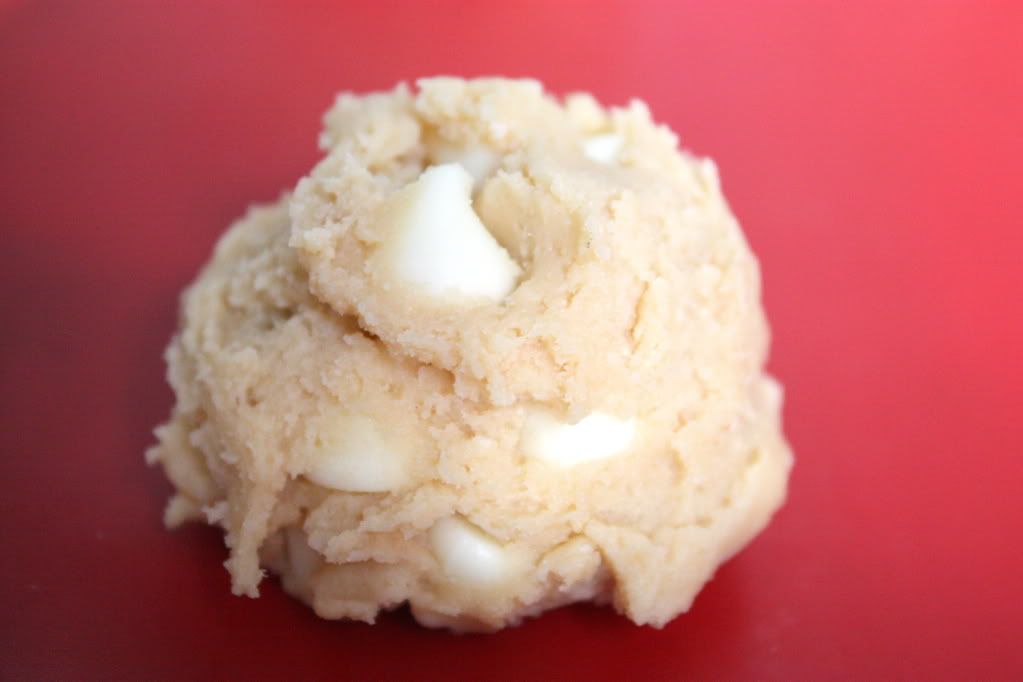
  • I used my cookie dough scoop to scoop out the cookies, and after the first batch went through the oven & didn't really flatten down, I decided to kind of push the tops down on the other cookies.
You should really try these cookies!


Nutrition Facts
Almond Cheesecake Pudding Cookies
Serving Size 1 each
Amount Per Serving
                     Calories 110.8
Calories from Fat 50

                                               Total Fat5.56g

                                               Saturated Fat 1.47g

                                            Trans Fat 0.8g
                                              Cholesterol13.85mg

                                              Sodium61.45mg
                        
                                                Total Carbohydrate14g

                                          Dietary Fiber 0.18g
                   
                                      Sugars 6.88g
                                      Protein1.38g
                        
                                          Vitamin A (IU) 214.25

                                       Vitamin C 0.01mg
                   
                                       Calcium 7.01mg
                   
                                     Iron 0.5mg
                   
Thanks for stopping by!

Enjoy!

Tuesday, December 13, 2011

DIY Canvas Photos

Look at the fun new display I have at my house:


I've been wanting to put something on the wall heading down to the basement...


I'm sure you've seen this idea floating around the internet.  I did.  I pinned it.  I got the supplies.  I went to work.


But let me tell ya....it's not as easy as it looks.

Try as I did to make sure that there were no crinkles and such, I still got some...


Little wrinkles that showed up after I tried to carefully smooth on the picture...


And poor Madison's photo.  Kind of looks bad at certain angles & up close and personal.


But through all the faults, I still like them.


Here's how I did mine:
{Sorry. No Pics}

Supplies:
-Canvas.  I went to Hobby Lobby and got some 8x10 canvas that they sold in a 2-pack.  It was on sale.  It was great.
-Paint.  One tutorial I saw used Scrapbook paper to line the edges.  I just went with some acrylic 50 cent paint.  And with that paint, I painted the edges and little bit on the top.
-Pictures.  I just recently took these pictures, and their my faves of the kids right now.  I print out on my printer 8x10 copies of the pics.  I did however have to trim a bit around; just enough for it to fit on the canvas.
-Modge Podge.  This is what I used to adhere the photo to the canvas.  I also did a coat on top for that all-around crafty look.

And that's that.  A wonderful project to add to my home!

Thanks for stopping by!

Monday, December 12, 2011

Teriyaki Chicken w/Ginger Rice


I've been going through a rut the last couple of weeks.  I totally didn't make any sort of menu the last two weeks, so we ate alot of pasta & breakfast items.

I hate when I hit stalemates like this.

And then I sat down, and really tried to put down a menu...I was looking for something new, something different. 

And then I thought of Ginger.  An ingredient that seems to be popular during the holidays.  I thought to myself, "Self....you should try some Ginger recipes."  I don't think I've ever cooked with Ginger before, so this was going to be fun.

So, I bought myself a BUNCH of Ginger....


And went to work finding delicious recipes {both savory and sweet}.

For tonight's dinner, we made:
 Teriyaki Chicken w/ Ginger Rice
Inspired by this recipe found here.

I decided to make it easy on myself though, and went with a bottled Teriyaki Sauce.  How simple is that.  Grab enough chicken to feed the fam, butterfly it {because most of the time, Chicken Breasts are a little thick}, pound it out, and slather on some yummy goodness.
I grilled these pieces on low for about 10 minutes each side {making sure to brush some sauce on both sides}.


And when it came to cooking the rice, I also went super easy by using my rice cooker.  Not that cooking the rice on the stovetop wouldn't have been easy, but those rice cookers {at least mine is}are good at making rice.


I followed her recipe for the rice:

2 Cups Rice
1 tsp Salt


She said an 1/2 inch of sliced Ginger, but I cut off an inch & finely diced it.  I didn't feel like fishing anything out of the rice when it was done.


And then I let the rice go.  It took about 25-30 minutes for the rice to completely cook.  The smell of the ginger cooking away emanated throughout my cooking space.

When everything was done cooking, I plated me up some Yummo-ness.....


The chicken was great!  Moist.  Flavorful.  Completely devoured by my family.

And the rice....The rice was delicious!  It was not overpowering, but you could definetly tell that it had some ginger action going on :)  My husband thought that this would work great/taste great in some sushi rolls.  Sure.  Why not give it a try ;)


This was a fantastic dish.  I heard no complaints from my family.

I hope you try it out!

Enjoy!

Sunday, December 11, 2011

Weekly Winners : Dec 4 -10, 2011


Blitzen


My cute Nephew


The Birthday Girl {who waited almost patiently to blow out her candles}


Graduate!


Thanks for stopping by!

Photobucket

Wednesday, December 7, 2011

Wayback Wednesday : 6yrs ago.....

 With my Husbands graduation coming up {Yay! Friday!}, I've been reflecting on my own graduation from Weber State....6 years ago.  Has it really been that long??

{Gah!  I'm cringing at 40 + lbs I'd gained}


Jordan was only 5 months old.  It's crazy to think that.  Granted, my husband has been going to school the last 5 years, and we asked Jordan if he could remember a time that Daddy wasn't going to school....he couldn't.


I'm glad that these chapters in our life our over.  No more tests, studying or expensive {ridiculously expensive} college text books.  But we are glad for our college education, and we hope that our children remember the importance of going to college once highschool is done {it's so much harder when you have a family}.

I'm so excited for Friday!

Photobucket

Sunday, December 4, 2011

Weekly Winners : Nov 27-Dec 3, 2011


Twinkling Lights & some Piano Playing


And on a Special Note......

It's my Daughter's Birthday today!


Boy, how the last two years have gone by fast!


Thanks for stopping by!

Photobucket

Thursday, December 1, 2011

Donut Snowmen

It's DECEMBER!!! In my book, once December hits, it's all Christmas :)
So, to start off the festivities of the Christmas & Winter Season, my kids & I made some yummy treats:
Donut Snowmen

Cute huh??? And even better to eat ;)
Want to make some? Here's what ya'll will need:
*Lollipop sticks {I got mine at Joanns using a coupon}
*Donut Holes {I got mine from Walmart}
*Black Frosting {I cheated and bought the tube from Joanns-using a coupon}
*Twizzler Pull-n-Peel
These are super easy to make. First, start stacking the donuts onto the lollipop stick.


Lick fingers.


Stack 3 donuts


Next, add your frosting. One thing I found funny was that the frosting was not sticking to the powdered sugar donut. So I had to poke my frosting tip into the donut, and essentially fill in the hole as I brought the frosting out.

To finish out your snowmen, tie one of the twizzlers around for a scarf. And there you go; Instant Snowman.
And you can get creative and only give your snowman One eye, like one of my sons wanted.


My boys loved doing this. We even wrapped some up to give to Grandparents.


So if you need a fun activity to do with your kids one afternoon, try this one out.
Enjoy!

Photobucket

Visit thecsiproject.com  Six Sister's Stuff