Thursday, January 20, 2011

Spam & Egg Casserole

Do not be afraid of Spam!!!!

I know it's not gourmet, but if you're looking for a quick, budget-friendly, food-storage worthy meal.....well....wa-la, I have this for you.

I grew up eating this dish; in fact, I think it's my sister's favortite meal.  It's been a constant meal in my marriage the last 6 1/2 yrs.  It's sort of my "oh crap, what's for dinner" meal because you can either throw it together & have it ready to serve in 45 minutes or less; or you can make it earlier in the day and have it for later.

I've been working on my photog skills, especially when it comes to taking pictures of food.

I'm trying.

It's doesn't help that I have the worse lighting in my kitchen.

Well....my kitchen isn't that spectacular in the first place, but that's another story.

I tried very hard to convey the yummyness that is this dish.

Anywho, here's the recipe:

 -Mix together the milk & eggs; set aside.
 -In a greased 9 x 13 dish {makes clean-up a whole lot easier}, add the crushed saltine crackers.  I just take my package & smoosh it done; all before I open it up.
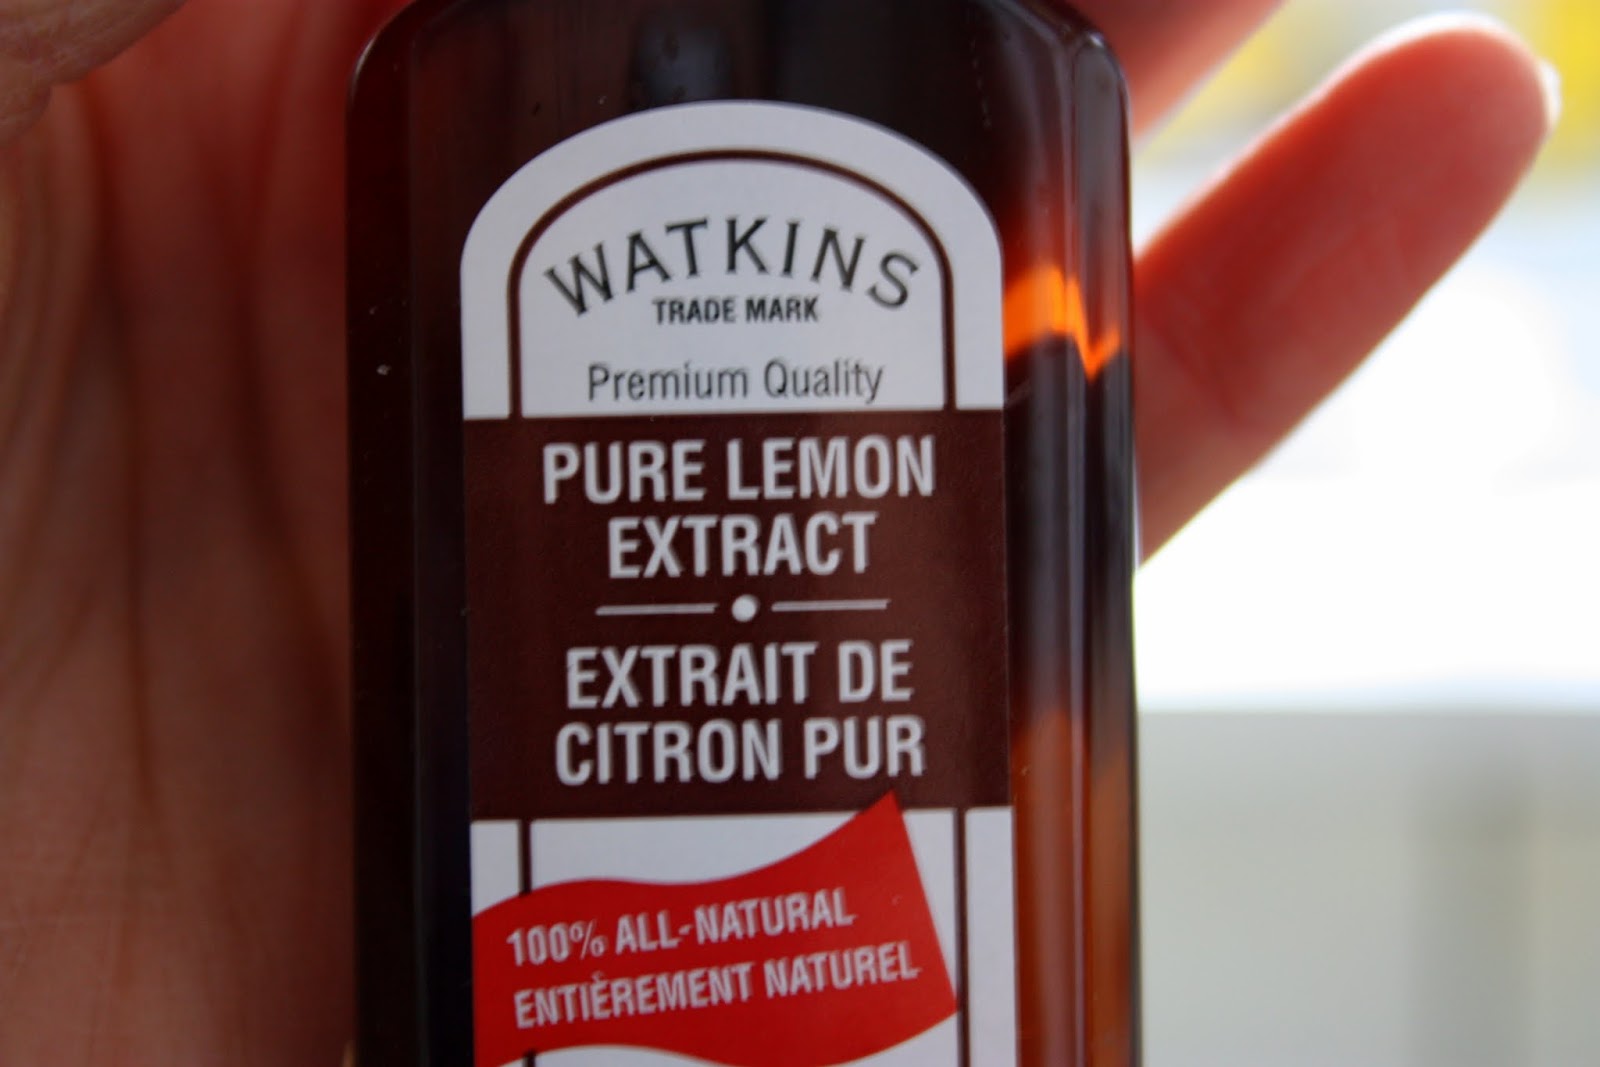
 -Dice up the Spam; thow it in with the crackers.
 -Add the corn.  You could use a can of corn, I just have a bag of the frozen stuff.
 -Add the cheese.  Usually, I use cheddar or colby & monterey jack; my husband used up the rest of that cheese yesterday on a pizza.  Today, I used an Italian blend cheese.  I think it might have tasted better.
 -Pour the liquids over everything & mix it up.  Sprinkle some parsley over the top, just to make it look purdy.  Cover it up with some foil, and bake in the oven @ 425 degrees for 15 minutes.  Take the foil off & bake for another 15 minutes or until it nice and golden & the cheese is melted.
 Yep.....that's me ;)
 MMMMmmmmmm.........yummyness.
So if you want to add something to your food storage recipe arsenal, give this a shot & enjoy.

Here's the recipe again:

I'm Linking this recipe at these sites:

Mouthwatering Mondays

Photobucket

Monday, January 17, 2011

Two Weeks

Starting at the end of the week, I'm going to make my way through 12 recipes over a 2-week span.  I started falling back into a not so organized meal planning, so I've given myself a challenge to cook new recipes {and all from one source}.

I sure do love to cook, but sometimes I want to take a creative break & just cook up others creativity.

So look for my adventure starting Thursday ;)

Photobucket

Sunday, January 16, 2011

I Heart Faces Photo Challenge: Winter Wonderland

For this weeks I Heart Faces theme: Winter Wonderland; I couldn't help but throw this picture into the ringer:
What do you get when you combine a park, a hill, and some of the best snow on Earth??
Sledding!!!!
It's just as enjoyable as an adult as it is for a child.
Who cares about the cold temperatures or the wet snow blowing into your face; the thrill of sliding at an increased speed on a piece of plastic not knowing if you'll make it down without biffing it......well.....it is very exciting!


Go over and look at the other wonderful pics!
Photobucket

Sunday, January 2, 2011

Weekly Winners 12-26/1-1

This is the first time that I'm doing this, but I just had such a fun week & I wanted to share :)

{All taken with my Canon Rebel xsi}

Funny Faces
Grand Prizes
Scrumptious Desserts
Chillin Laughter
 Mom & Son
 A Daredevil
 Crash & Burn
 Uncontainable Enjoyment :)


Photobucket

Lemonhead Cookies

WARNING!!!

These cookies are very addicting.......very.  My 4 dozen cookies are gone in less than a 24 hr period.  My boys {who don't eat sweets-their choice} eat these cookies.  My oldest is glad to lick the batter off the beater when I make these cookies.

So go out & find a bag of Lemonheads and make these cookies :)


Lemonhead Cookies
Ingredients:
1 Cup of Butter
1 Cup of White Sugar
1/2 Cup of Brown Sugar
The zest from 1 Lemon
2 Tsp of Lemon Extract
2 Eggs
1/4 Tsp of Salt
1 Tsp of Baking Soda
3 Cups of Flour
6 oz Bag of Lemonheads-Crushed into smaller pieces

 First, cream together the sugars, butter and lemon zest


 Next add in the Lemon Extract. Now, I've tried making these cookies with lemon juice, but the juice did not add enough lemon flavor. The extract does.


Add in the eggs as well; Mix until everything is incorporated.


Now we get to add in the dry ingredients: Salt, Baking Soda & Flour.


You want to add enough flour to make a stiff dough.


And finally, add in those Lemoheads-the star of the show.


This is what the dough should end up looking like-nice and firm {it should stick to the beaters}.
 I use my trusty cookie scoop & scoop out my dough balls {and try to resist the temptation of the dough}.  I was able to get just short of 4 dozen cookies scooped.
 Bake in the over @ 350 degrees for 10-12 minutes {just a little golden}.  When I take them out of the oven, I let them sit on the pan for another minute or two to set up.  You don't want to eat one of these lovely's right out of the oven because of the melted candy-you don't want to burn your mouth.  After a couple of minutes, I then transfer them to a cooling rack to cool down.
 Now, these cookies would be just fine, but if you want to up it a notch, add a lemon-powdered sugar frosting to these puppies.  For the frosting, I used 1 1/2 Cups of powedered sugar & just enough lemon juice to get a not-to-thin/not-to-thick frosting {easy enough for my silicone brush to brush the frosting on}.  For these cookies, I added some yellow food coloring because I wanted to make them look pretty for a party I was going too.
 Ahhhhh......yumminess.
 Very, Very addicting.  I'm so sad they're gone.
Enjoy!
Lemonhead Cookies

I'm linking these goodies to the following places:

Mouthwatering Mondays


Tuesday, December 21, 2010

Wednesday, December 15, 2010

No-Bake Peanut Butter Chocolate Oatmeal Cookies

What a mouthful.

My Brother {the one that's stationed in Okinawa} asked for a No-Bake PB Choco-Oatmeal cookie.  No-Bake because he doesn't have access to an oven.  So I "binged" what he wanted and found this recipe; I adapted it only in the heating/melting process.

I halved the recipe because I really don't need the extra treats around {especially since I want other kinds of treats as well} and I got 10 cookies out of it...which is just fine to me.

No-Bake Peanut Butter Chocolate Oatmeal Cookies

 Add the butter, milk, sugar, and cocoa to a microwave-safe bowl.  I nuked it for 30 seconds; then stirred it around and decided to nuke it again for another 30 seconds.
 Nice and melted
 Add your Vanilla and Peanut Butter
 The Peanut Butter melted right in {I didn't have to nuke it again}
 Add the Oats
 Stir everything together
 Drop spoonfuls onto wax paper {so they don't stick}, and stick the pan in the fridge {or freezer} until the cookies set.
 oooh, Yummy!
 Again....nothing better than Peanut Butter & Chocolate!
Enjoy!
Photobucket