Wednesday, February 15, 2012

Wordless Wednesday

*This is how we Rock out Valentines*


Thanks for stopping by!

Photobucket

Tuesday, February 14, 2012

Happy Valentines Day!

In honor of the holiday today, I'm showing off a decoration I made a couple weeks ago....


It's been great to have something cute hanging around our house!

These were super simple to make as well.  If you've got a 2x4, some scrapbook paper, and some paint, then you're set!

A bunch of my friends decided that we all wanted to make this same block set, so we pooled our money & had one person cut the vinyl & another cut the wood.  So, for under $3, I made this.  I love crafts like that!

Thanks for stopping by!

Photobucket

Monday, February 13, 2012

Organizing my Closet

As I was perusing Pinterest the other week, I came across this PIN
Instead of pinning it to my board, I decided to immediately put it into action.

Here was the state of our Hallway Closet.  Everything has kind of been thrown in there.....no organization at all.


So I took everything out.

I folded the towels & stacked them nicely.
I used the Martha Stewart idea, and stuck each sheet set in their own pillow case.
I threw out an entire bag of garbage.
I compressed alot of things, so I had a large basket & two small baskets that came out.

Here's what it looks like now:


I like the idea of each sheet set being together.  Before, they were sort of haphazardly throw together in the same backset.  And although they aren't as pretty as Martha's....it works for me.


Yay!

Thanks for stopping by!

Sunday, February 12, 2012

Weekly Winners : February 5-11, 2012

*All shots taken with my Canon Rebel xsi*
Click on the button below to visit some other fabulous people!
My kids are truly the loves of my life & inspiration.  So I turn to them when I'm anxious to get behind my camera lense.  This week, I wanted to take some pictures of my kids for a Valentine Project, and luckily my darling children obliged with me {granted, me feeding them Swedish Fish probably helped too}.

It was great to see, as I was editing/looking through the pictures, my kids personalities :)

-This kid was cracking me up with his faces-


-My oldest...how did I get him to smile & giggle....started talking about girls  in his class ;)


-Little Missy....oh how I love you!


Thanks for stopping by!

Photobucket

Friday, February 10, 2012

Pinterest Friday Finds

Welcome back to another Friday edition of my favorite Pinterest finds for the week!

I saw this, and I totally want to make this for my kids teachers this year.

Pinned Image

How cute is this shirt??? 

Pinned Image

I've been thinking about cutting my hair; if I thought I had the time to do my hair like this everyday, I would want this.

Pinned Image

I found these Saturday Night & instantly wanted to make them Sunday for a Superbowl treat.  I'll post about my version sometime this next week.

Pinned Image

We're going to Disneyland this summer, and I like this idea of counting by weeks, and then shortening by days :)

Pinned Image

Thanks for stopping by!

Photobucket

Thursday, February 9, 2012

DIY Apothecary Jars

So... Apothecary Jars are everywhere.  I didn't have any, but I thought it would be a cute decoation to have in my house.  I saw some cheaper jars at Ross's, but they were still $11-14 dollars for 1 jar.  Then, as I was perusing the Pinterest, I came across this tutorial: Mason Jar Candy Jars; and I ran with it.


I decided to use Dollar Store Vases instead of my Mason jars....


I spray painted all the wood parts black-kept it super simple.


I bought table legs from Home Depot {found here}, and cut off the top & glued them to round circles of wood I found at Hobby Lobby.


I took the bottom of the legs & screwed them into plaques I found at Joanns.  I then glued the vases to the base using Gorilla Glue.


And because Valentine Day is coming up, I tied pretty red ribbon around the tops.


And there you have it, a nice pretty new decoation for my house.


Price Breakdown:
  • 3 Dollar Store Vases =$3
  • 3 Table Legs = $9.60
  • Bottom Wood Plaques = $2.40
  • Top Wood Pieces = $0.90
  • Black Spray Paint = $1
  • Total = $16.90 or $5.63 for each jar
Lots better than paying $10-14 for one in the store.


Thanks for stopping by!

The Pinterest Challenge

Tuesday, February 7, 2012

Crazy Cooking Challenge : Marshmallow Chocolate Cake

Photobucket 

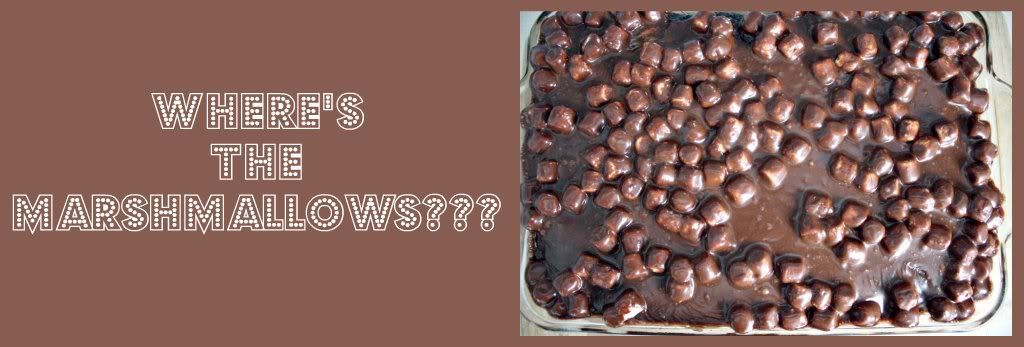
Hey Ya'll!!!  I'm so excited to show you this fabulous dessert!


I loved this month's theme : Chocolate Cake.  The only hard part was picking one type of Chocolate Cake to make {I pinned and looked at so many}.  But when it came down to crunch time, I chose Dana's {from MADE} 
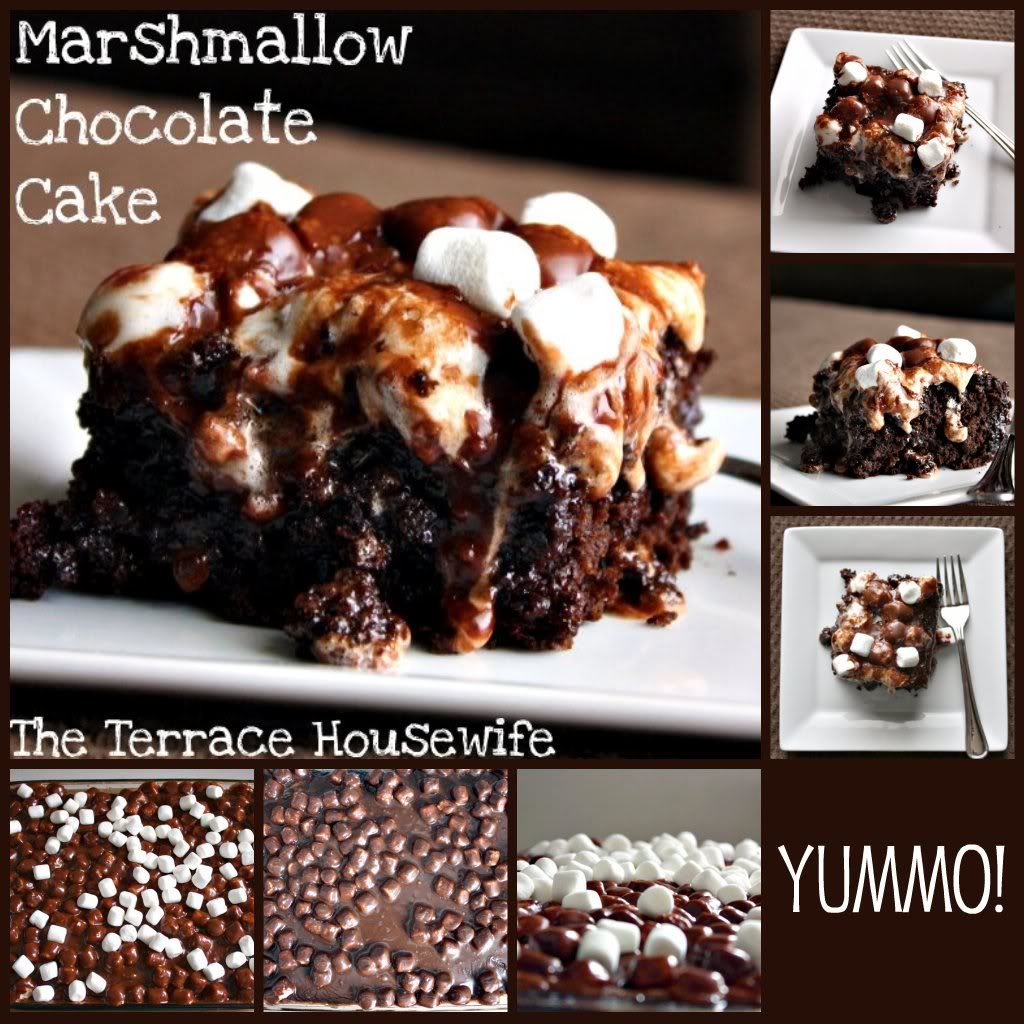
Marshmallow Chocolate Cake.  It just sounded {and looked} delicious at the time.


The cake was very easy to put together, as well the frosting.

But I did have to add to the frosting:


Yummo!

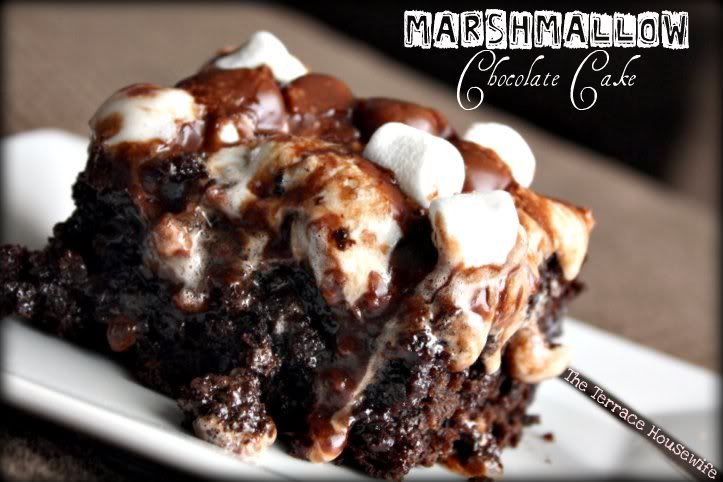
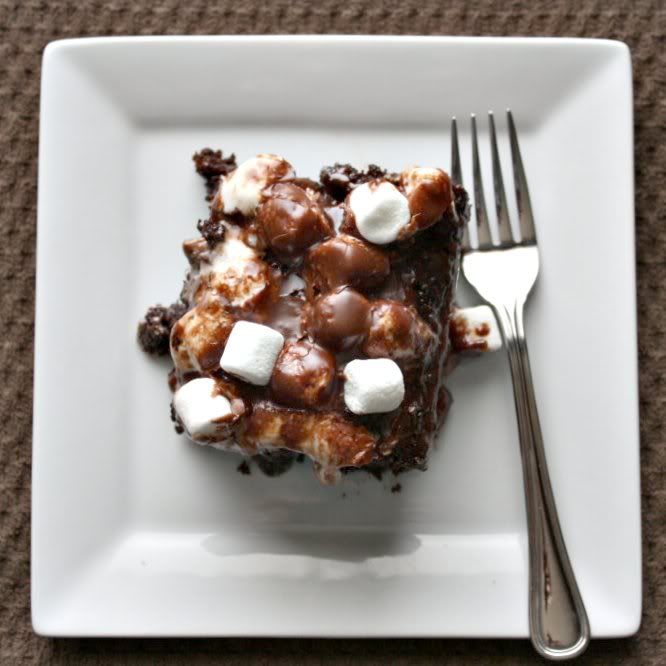
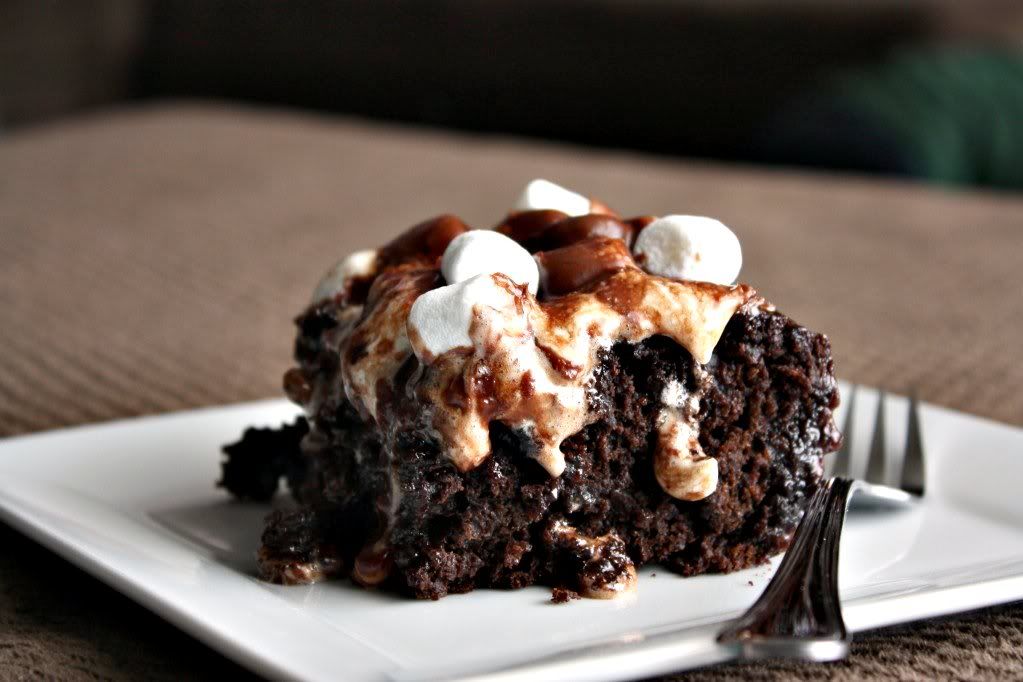
Chocolate-ty Cake with ooey-gooey Chocolate Frosting {the marshmallows ever so slighty melted onto the hot cake}.


And let me tell ya.....after having surgery & feeling a little blue, this cake was a bright spot to a dreary week.

Marshmallow Chocolate Cake
Ingredients
·         1 Cup Boiling Water
·         2 Cups Sugar
·         1 ¾ Cups Flour {I used 1 Cup White Flour & ¾ Cup WW Flour}
·         ¾ Cup Cocoa Powder
·         2 tsp Baking Soda
·         1 tsp Baking Powder
·         1 tsp Salt
·         2 Eggs
·         1 cup Buttermilk
·         ½ Cup Oil {I substituted Applesauce for the oil}
·         1 tsp Vanilla
·         Chocolate Satin Frosting
Directions
1.       Heat the oven to 350⁰ and grease a 9x 13 pan.
2.       Bring some water to boil and keep it simmering while you make the batter {I stuck my water in the microwave & hit my “Hot Water” button}.
3.       In a large mixing bowl, combine the following ingredients: Sugar, Flour, Cocoa, Baking Soda, Baking Powder and Salt.  Mix slightly.
4.       Add the Eggs, Buttermilk, Oil, and Vanilla and beat with an electric mixer {or your Kitchen Aid w/Whisk Attachment} for 30 seconds.
5.       Carefully stir in the boiling water until it is mixed in.  Beat for 1 ½ minutes.
6.       Pour the batter in the 9x13 pan {batter will be thin}.
7.       Bake at 350⁰ for 35-38 minutes or just until the top springs back when lightly touched.
8.       Make the frosting while the cake is baking.  When the cake is done, pour the frosting over the hot cake.
9.       Cool to room temperature before serving.
10.   Enjoy!
Chocolate Satin Frosting
Ingredients
·         ½ Cup of Butter
·         6 Tbls Buttermilk
·         4 Tbls Cocoa Powder
·         16 oz Powdered Sugar
·         1 tsp Vanilla
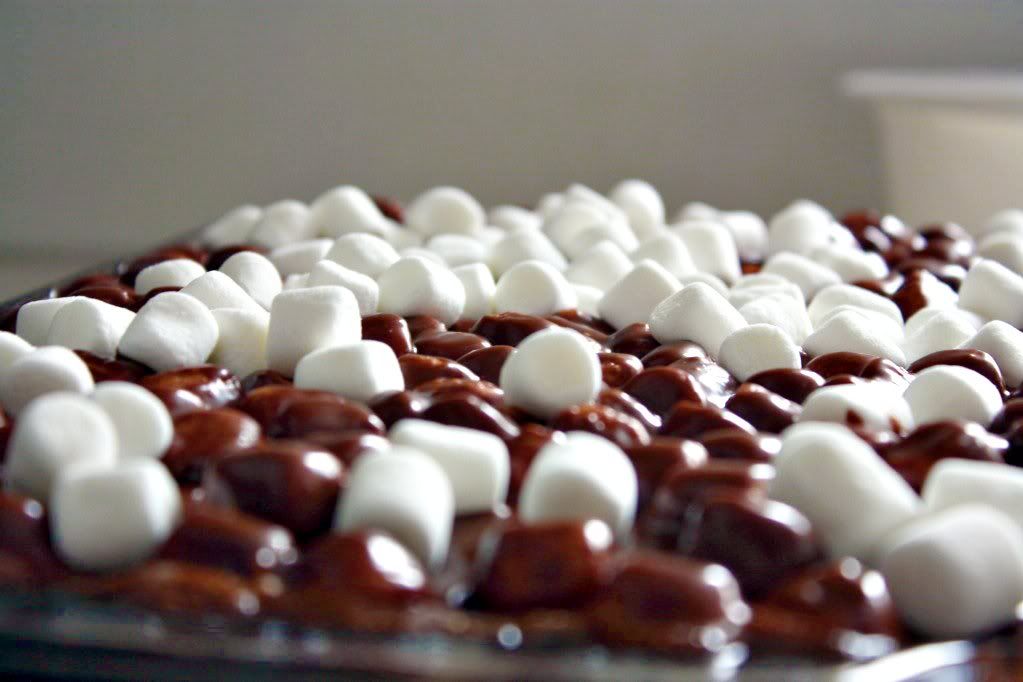
·         2 Cups Marshmallows {I would say 2 ½ to 3 Cups}
Directions
1.       In a medium saucepan, combine the following ingredients: Butter, Buttermilk & Cocoa powder.  Cook, stirring constantly, just until it comes to a boil and then remove from heat.
2.       Whisk in the vanilla.  Slowly whisk in the powdered sugar, a little bit at a time until the frosting is nearly smooth.
3.       Stir in the marshmallows.  Pour the frosting over the hot cake, gently spreading it all over.
And in case you were wondering {because I was}, based on 15 servings, each piece of cake would be 285 calories {with my substitutions}.

Photobucket
*I'll be linking up to these fabulous sites found here!*
Go check out other entries in the Crazy Cooking Challenge : Chocolate Cake!